
What is a SiteCam Project?
Before you get started, it’s important to understand how a SiteCam project works.
A SiteCam project consists of Folders. Photos you add into a SiteCam project are organized into folders (just like on your computer).
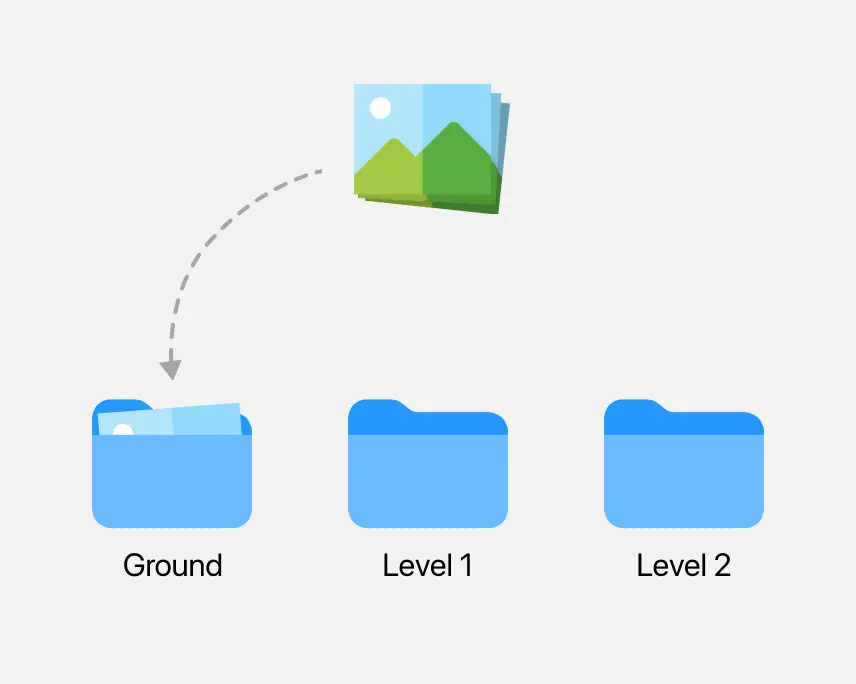
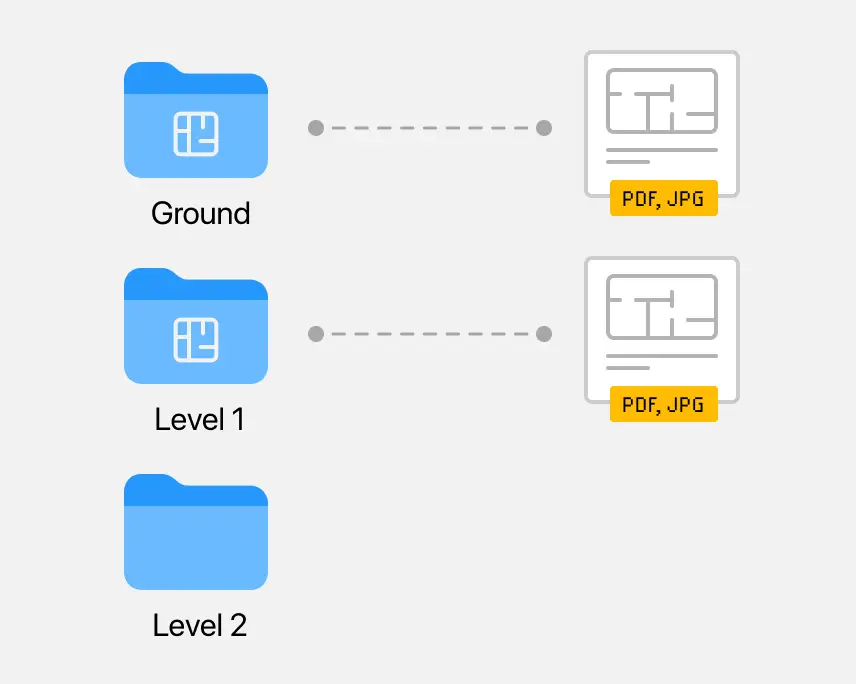
Each folder can have a plan attached to it. You have the option to attach a plan to each folder (or not). When a plan is attached you can pin photos to these plans.
A SiteCam project can have some folders with plans and some without plans. You can edit the folder structure at any time.
Creating a Project Where You Can Pin Photos to Plans
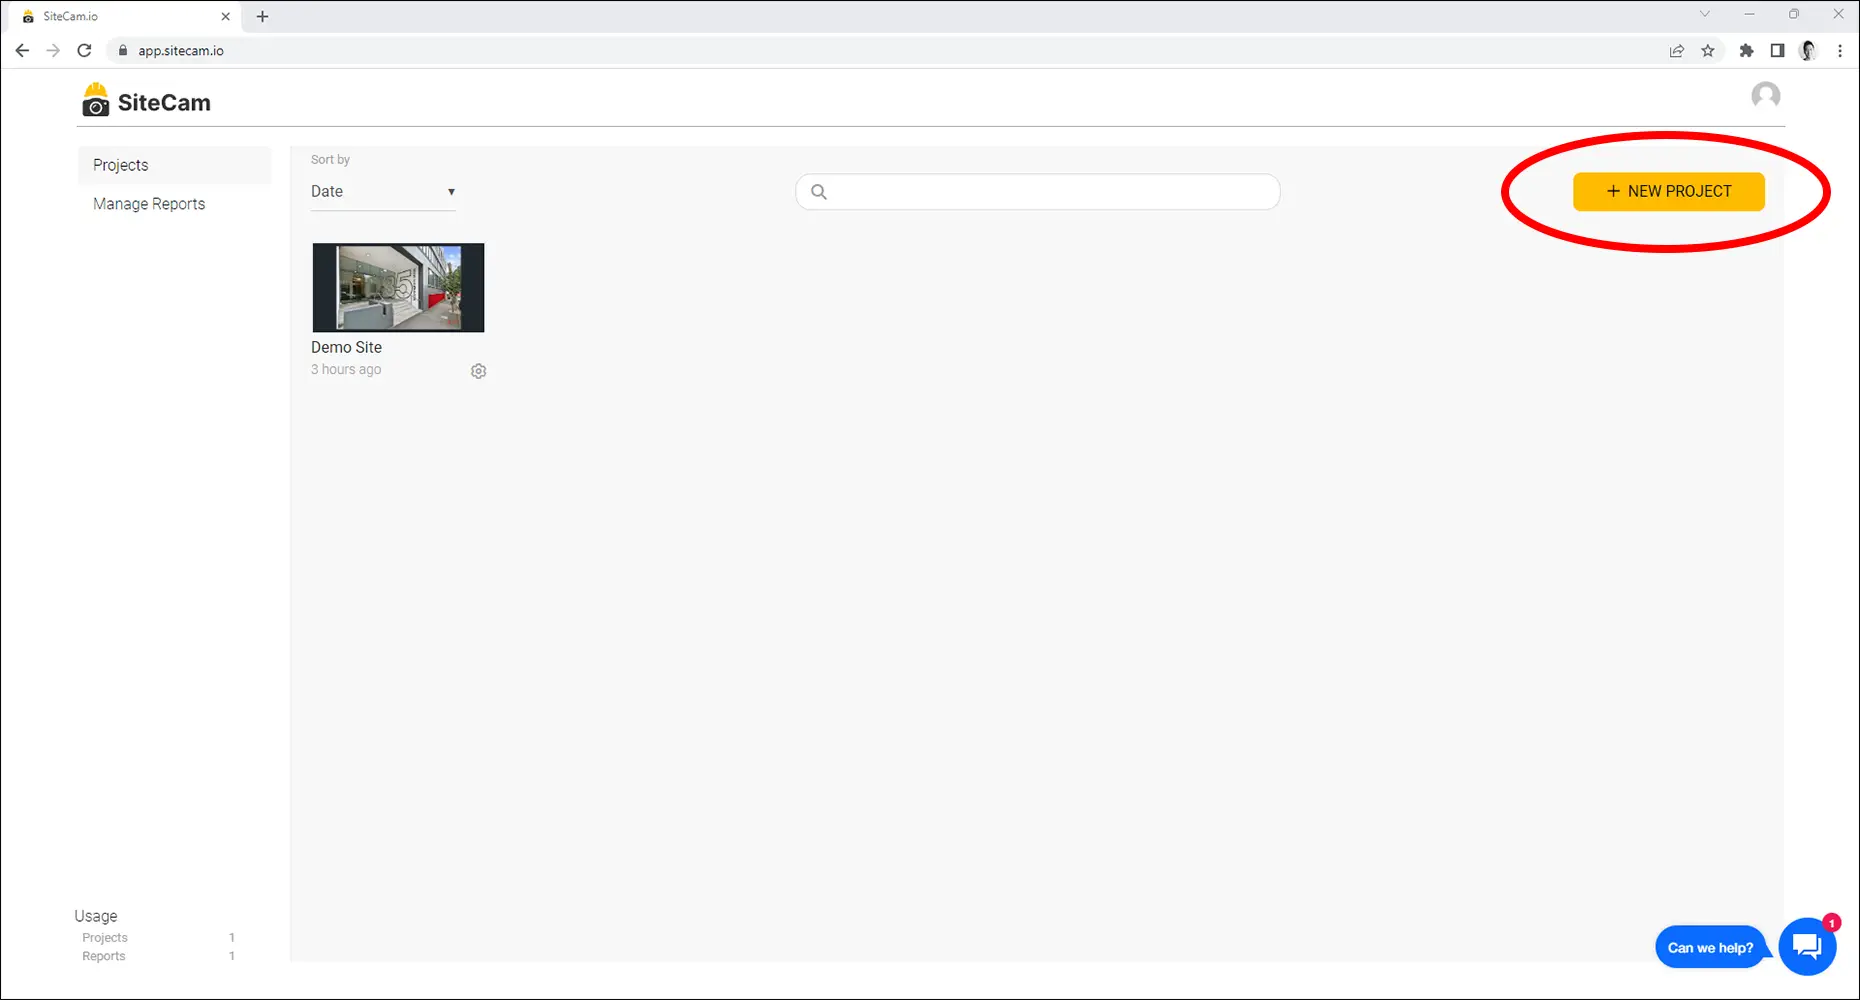
1. Login to the SiteCam web app
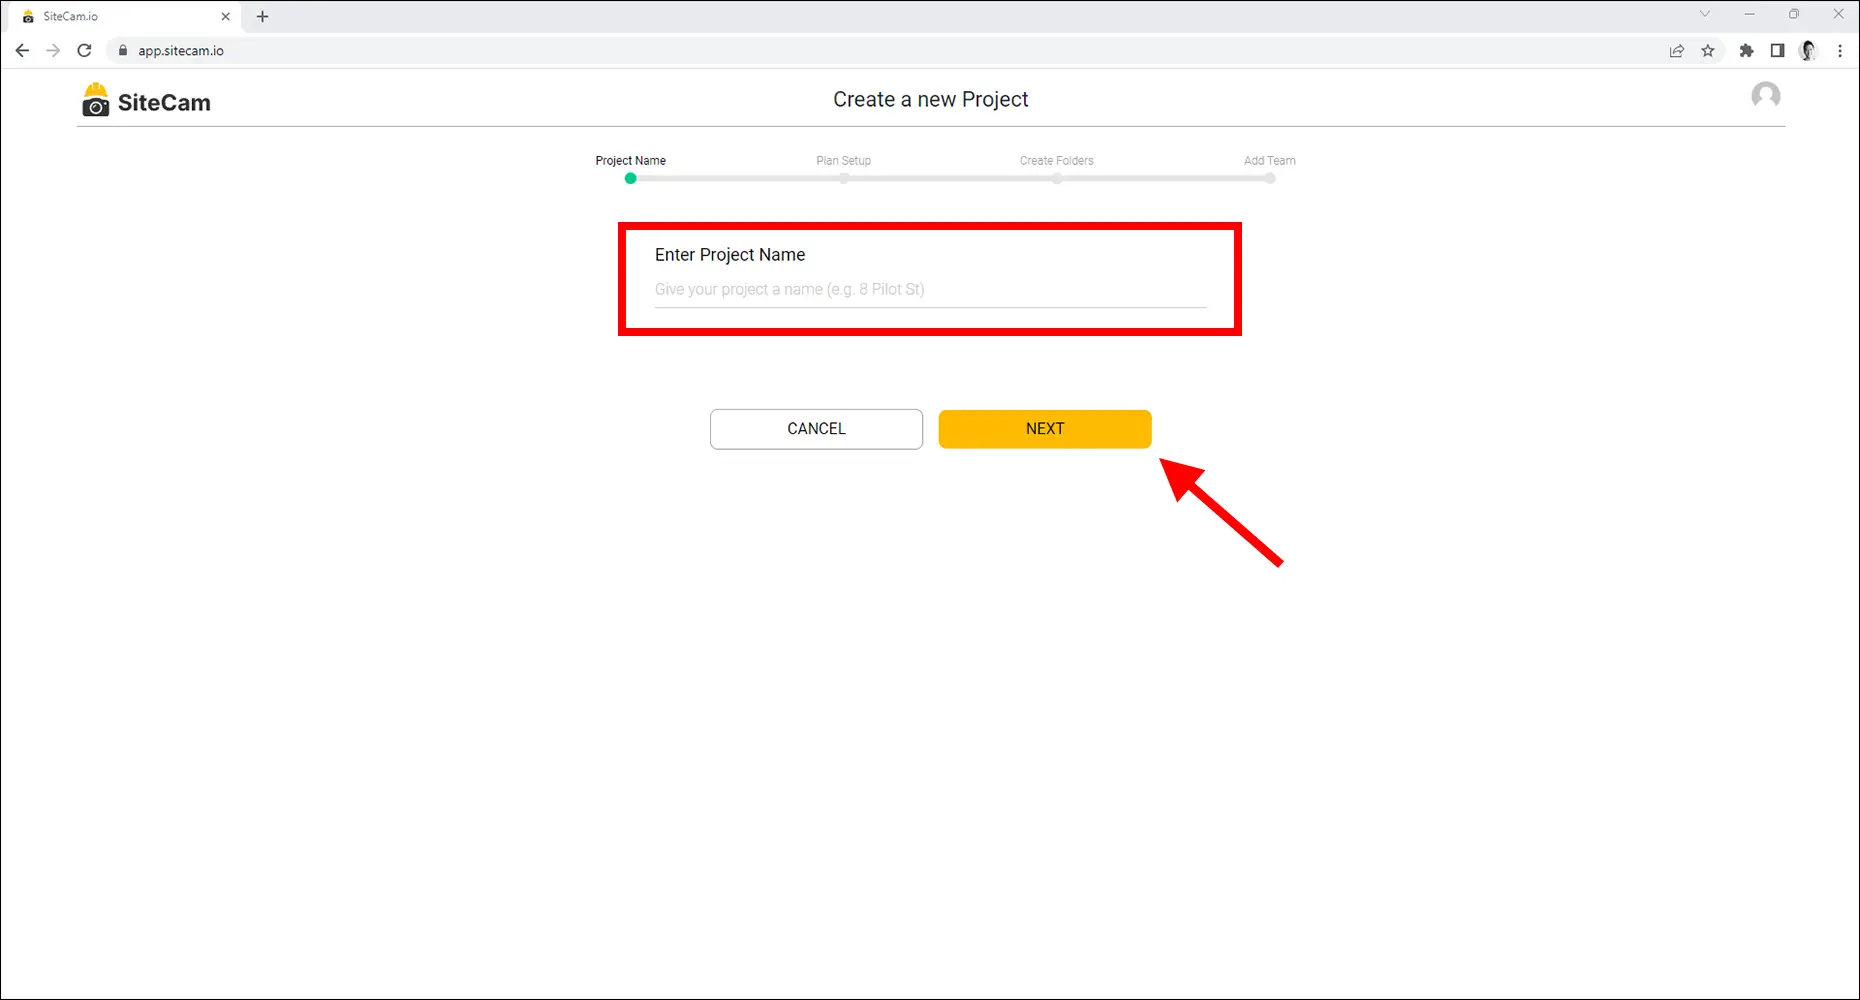
2. Press the “+ NEW PROJECT” button on the Projects screen.
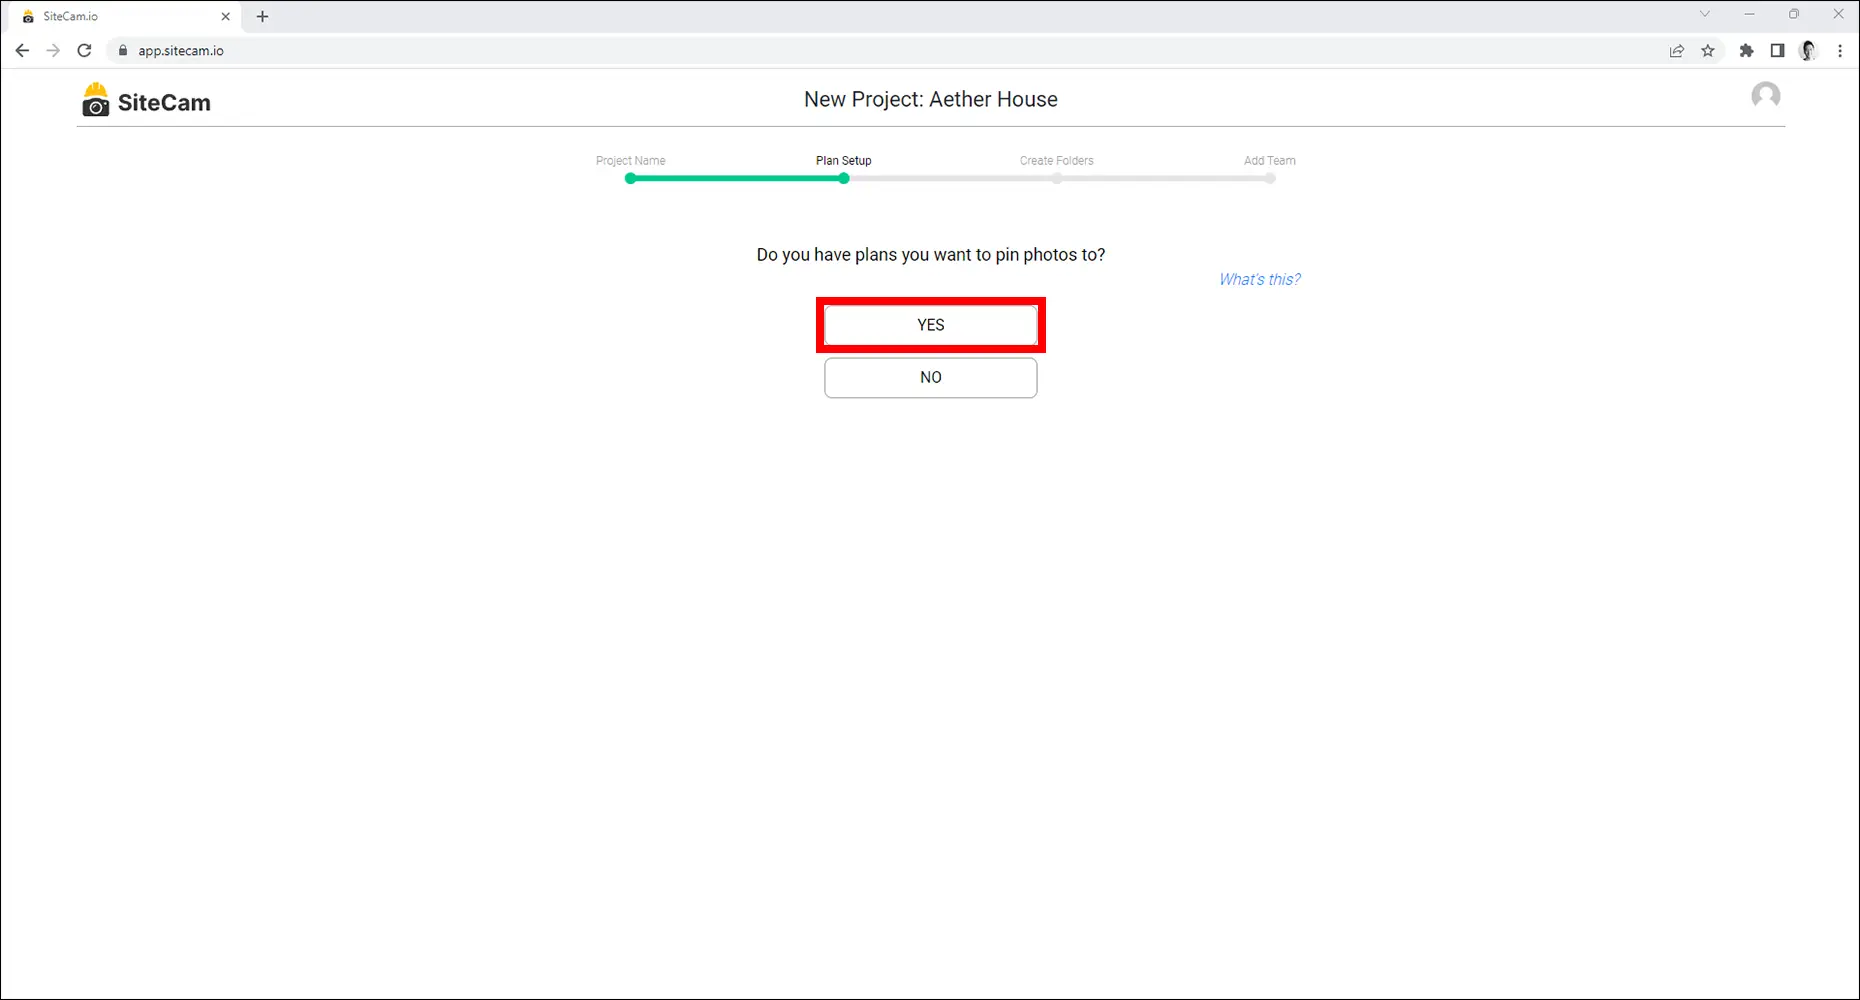
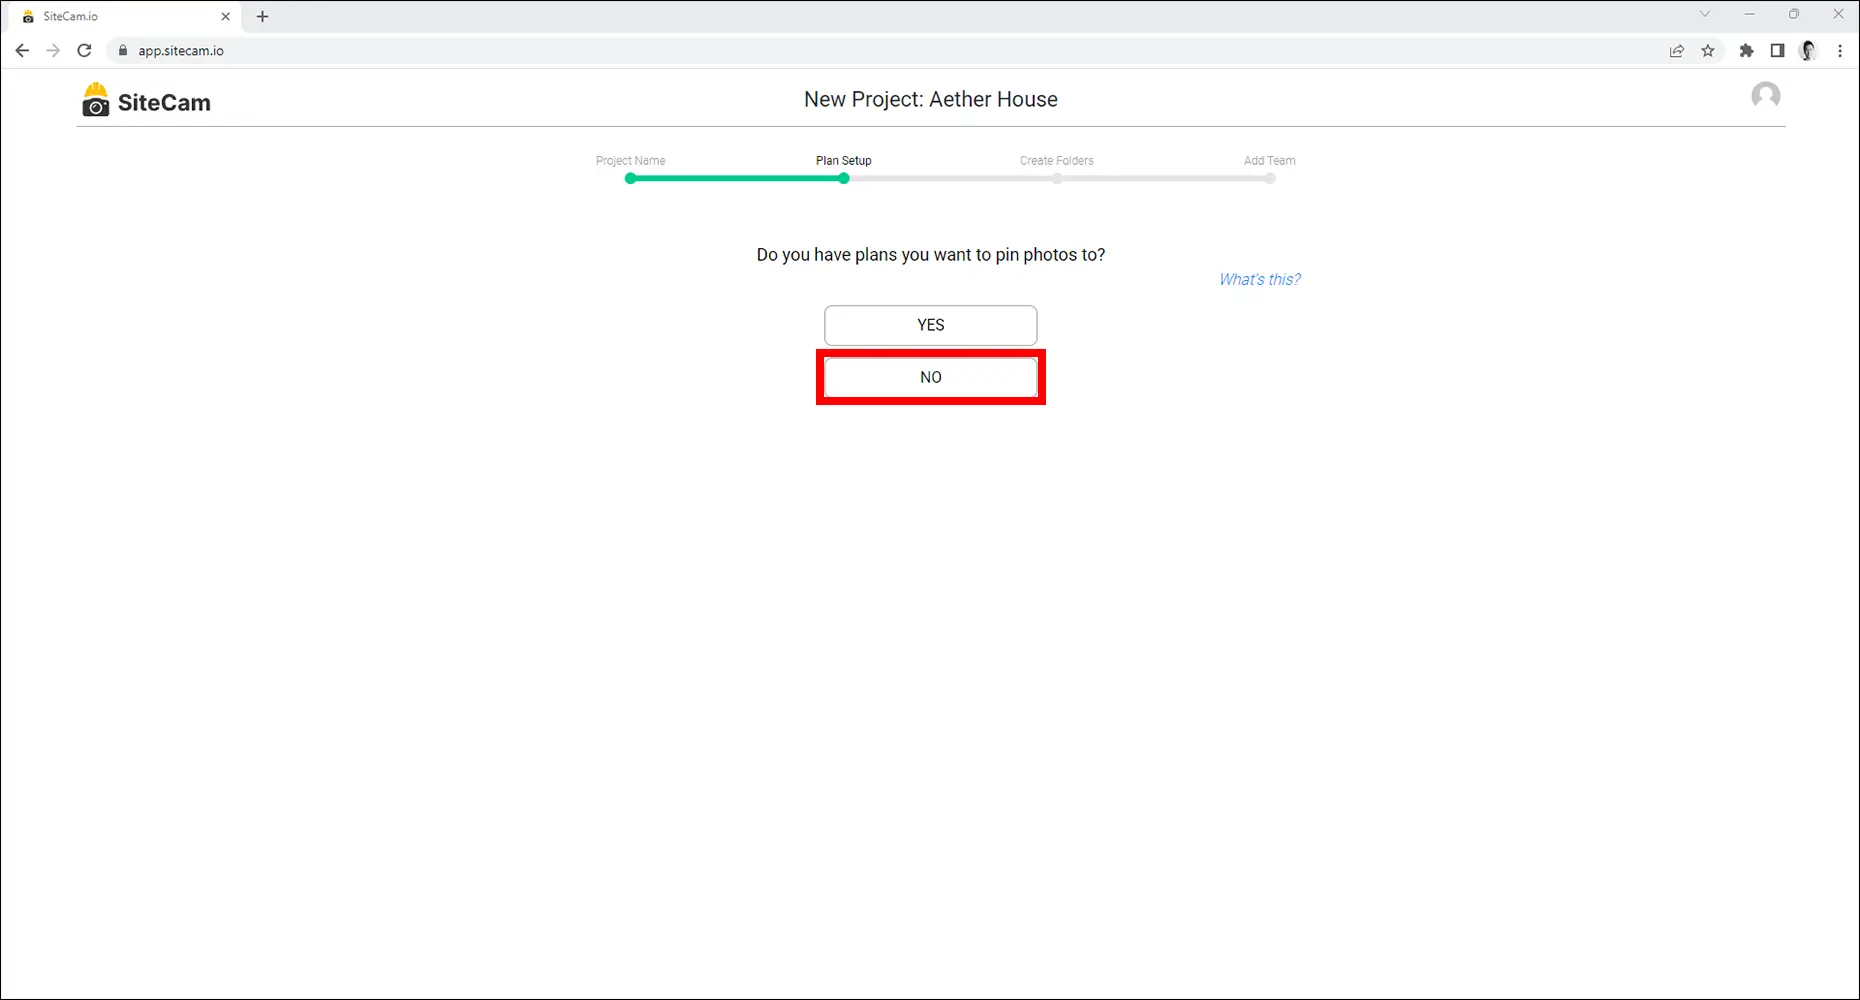
4. Select the Yes option if you have plans you want to pin photos to.
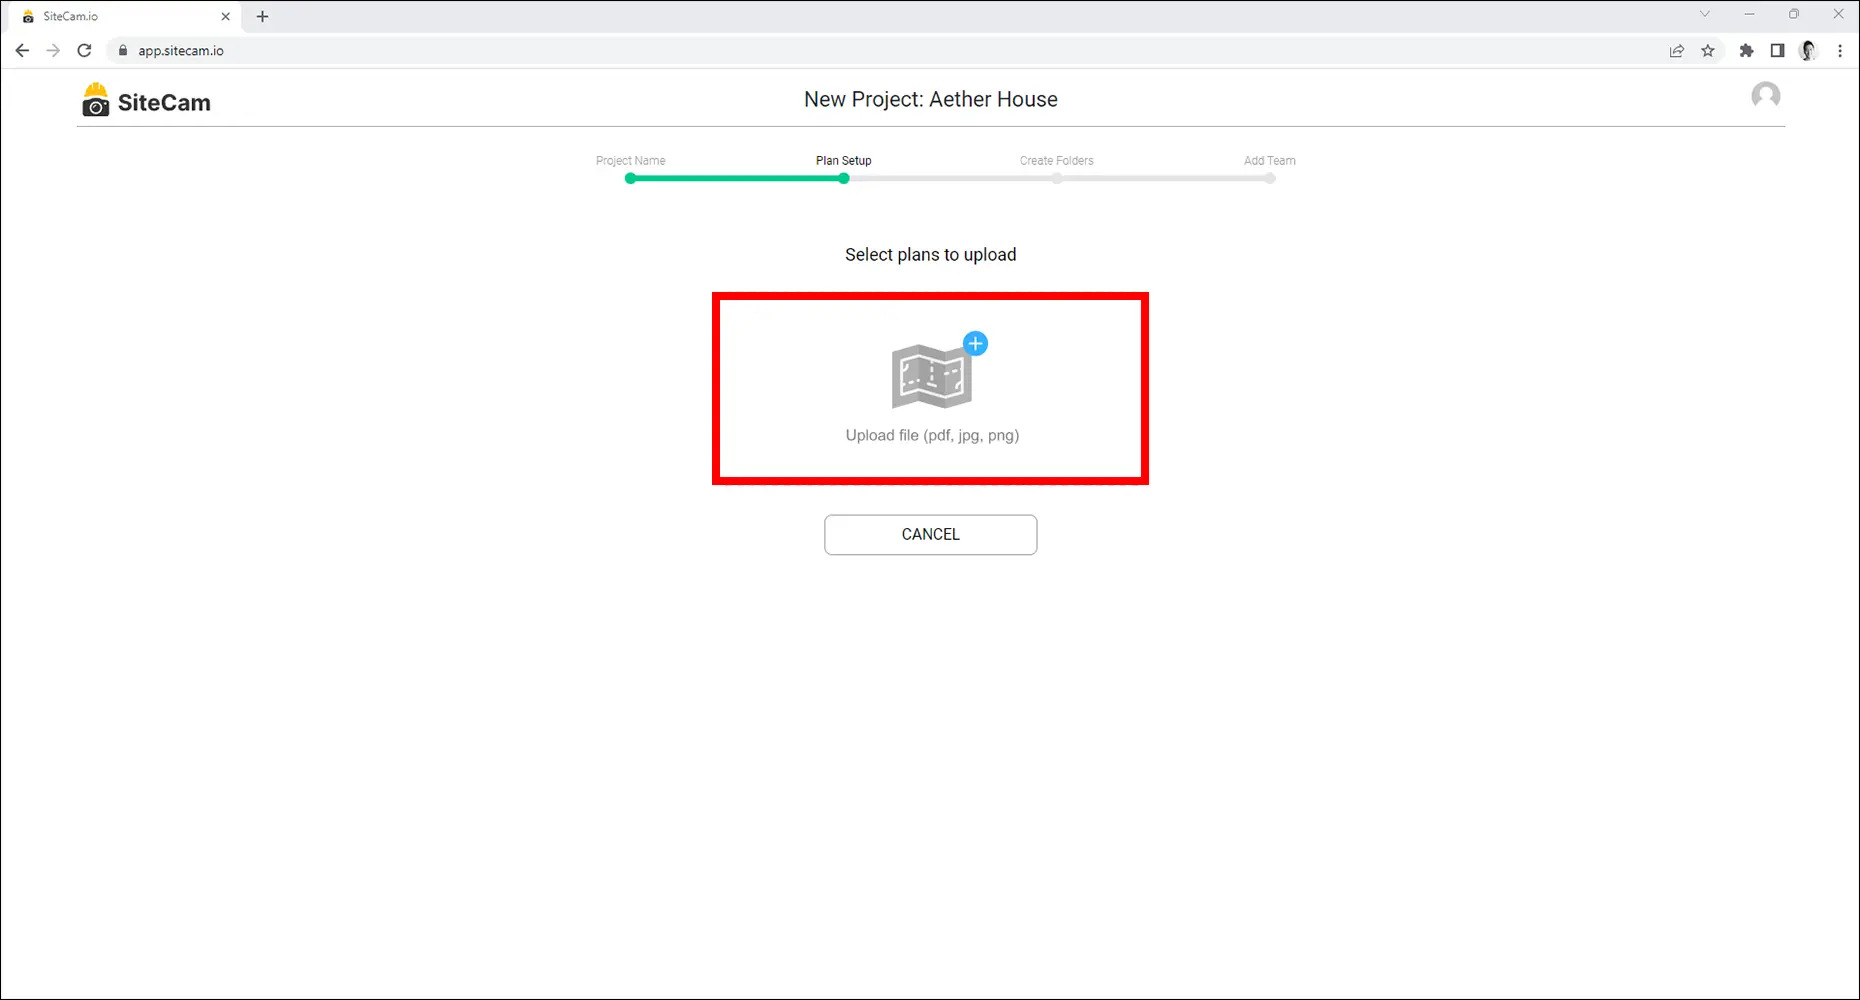
5. Click on the Upload file icon to open the file browser on your device.
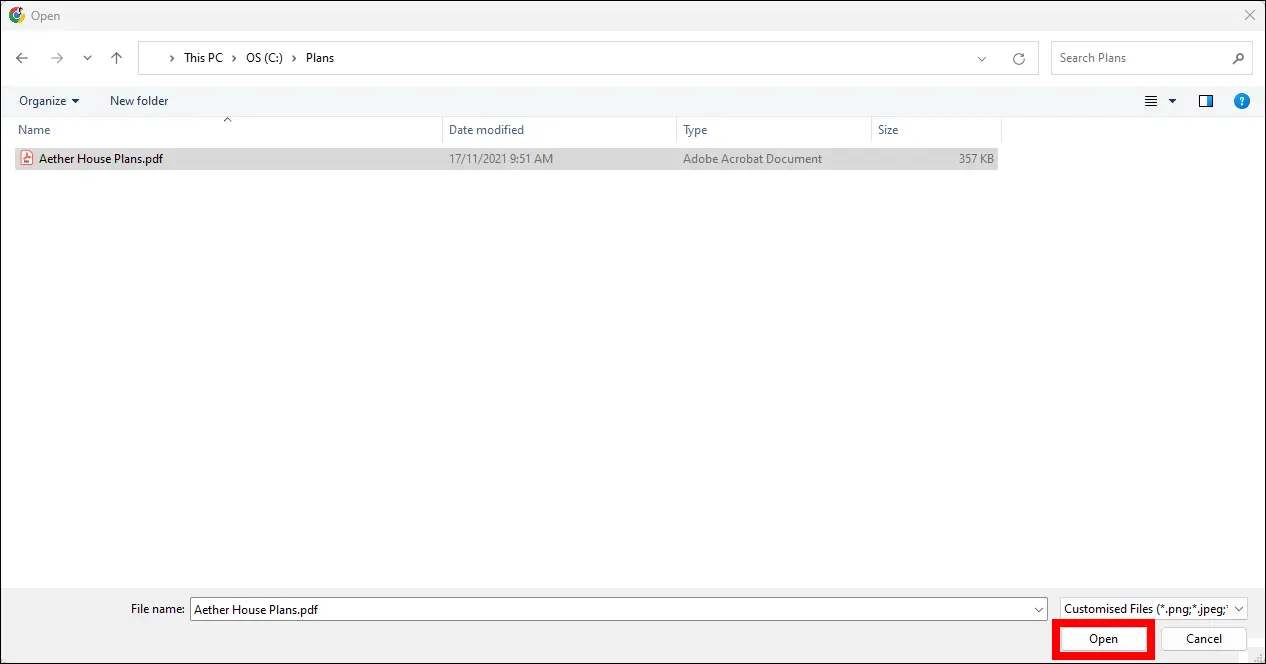
6. Navigate to where your plans are saved. Select the plans you want to upload and press the Open button.
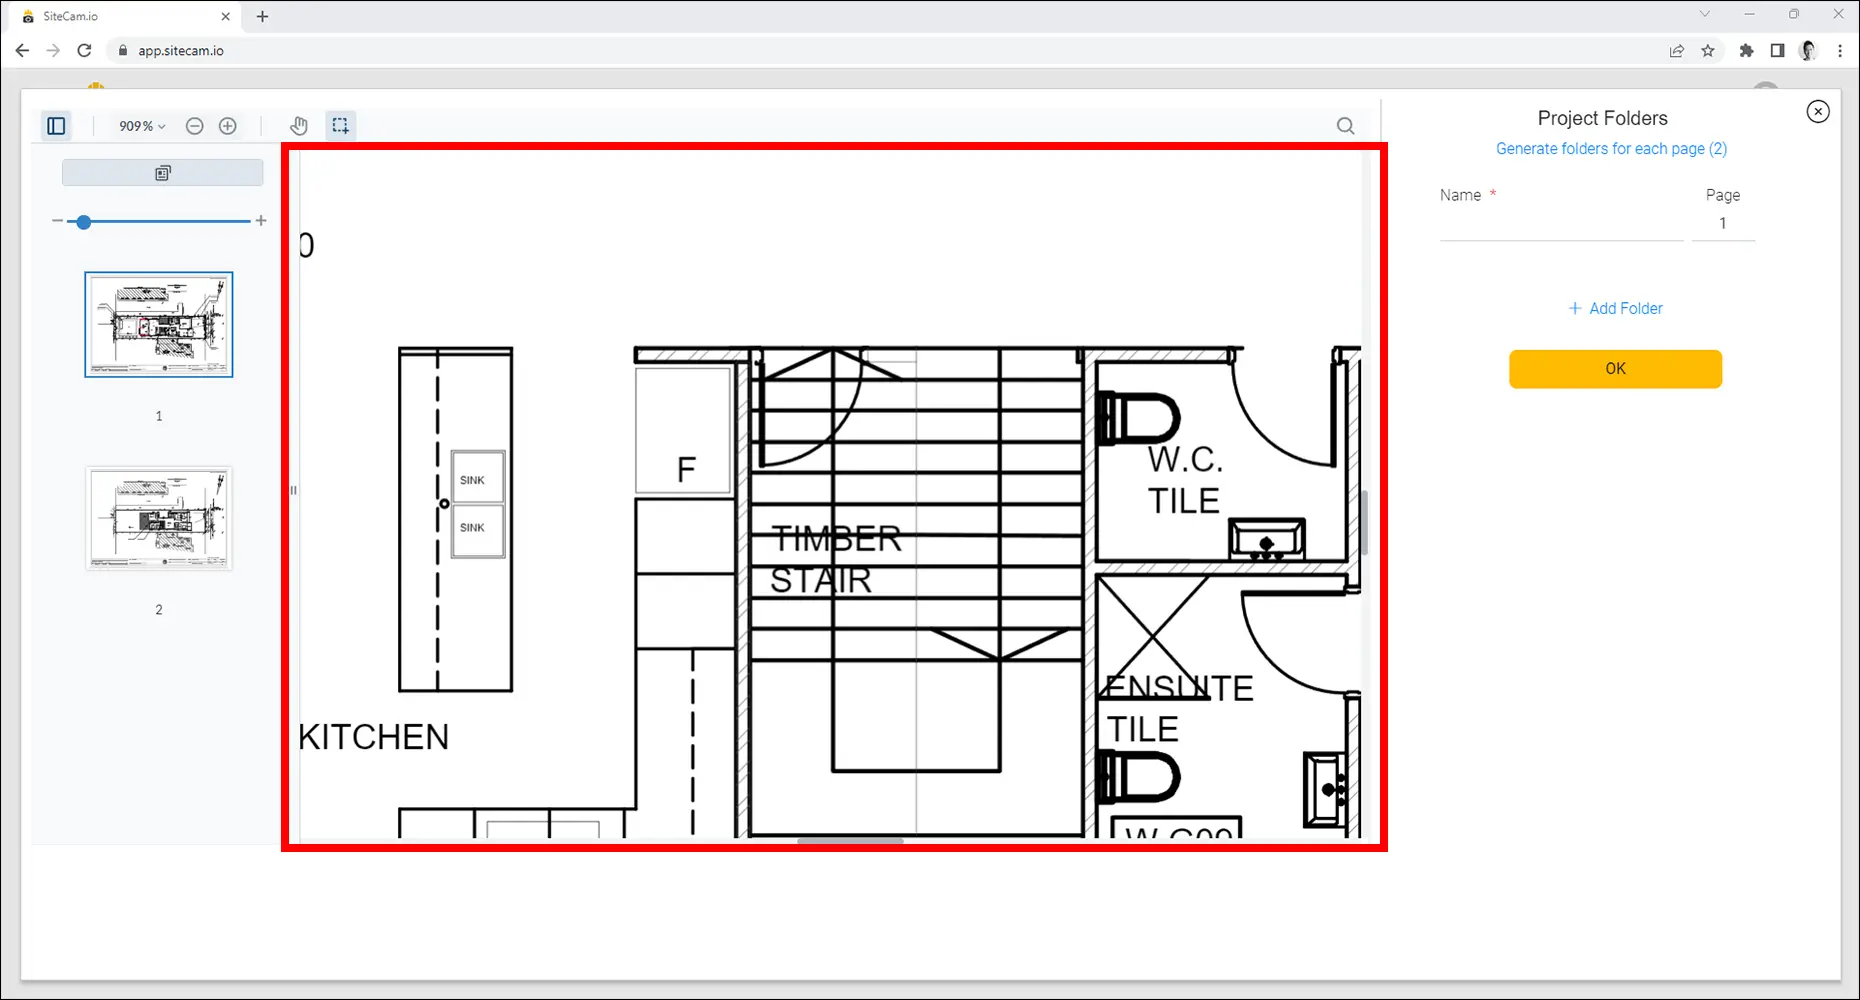
7. SiteCam will detect if the PDF you opened has multiple pages and open a preview window. Skip to Step 10 if your document doesn’t contain multiple pages.
Click on the thumbnails on the left to preview different pages in the document.
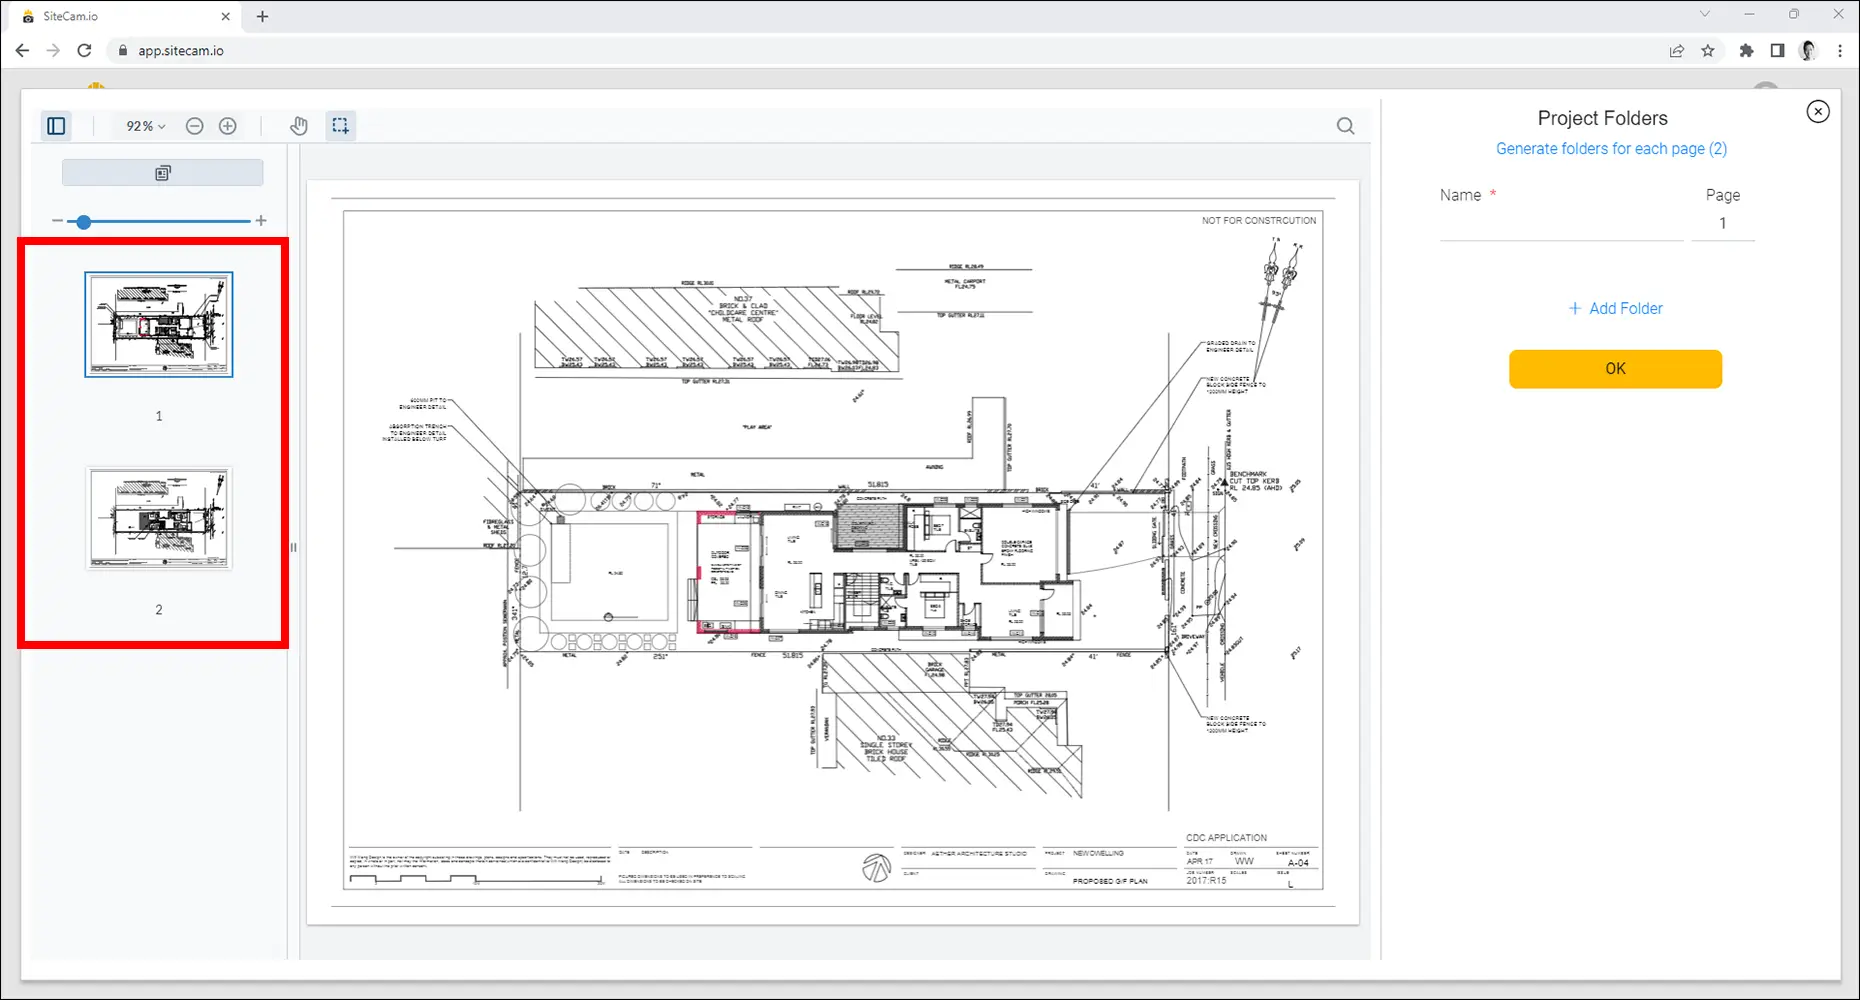
There are navigation buttons at the top of the preview window that will let you zoom in/out and pan the plan.

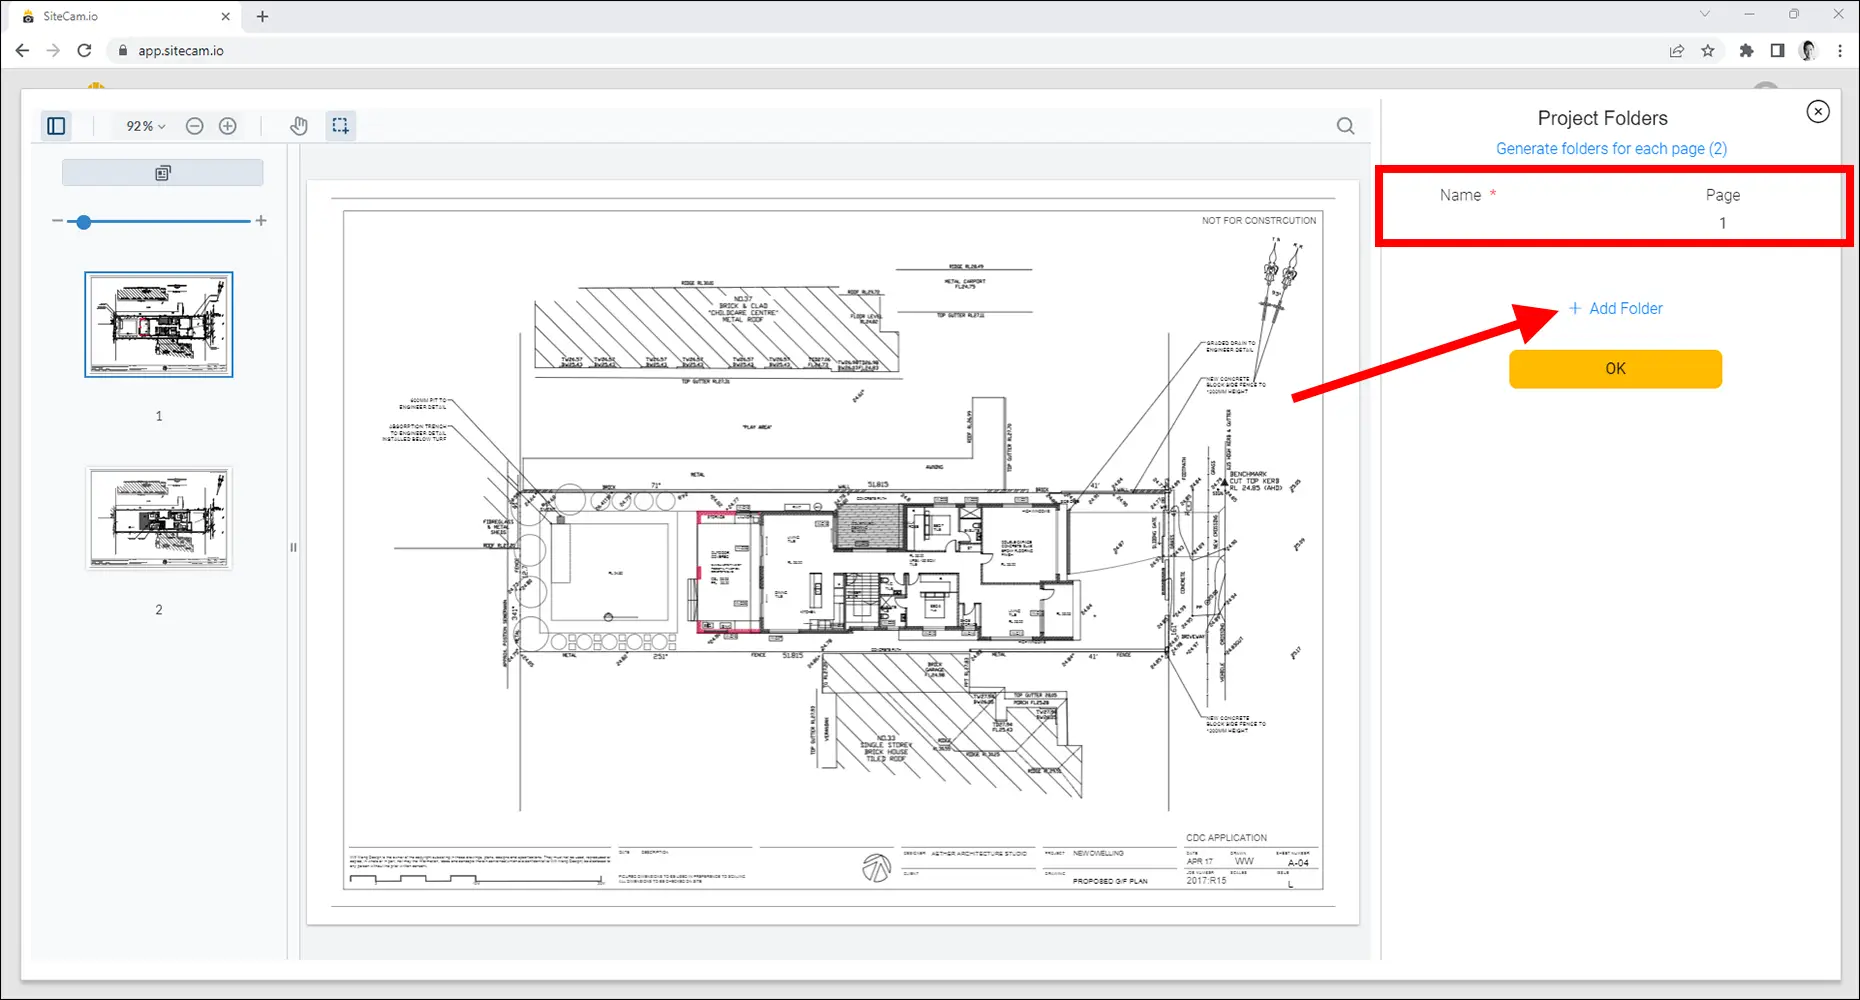
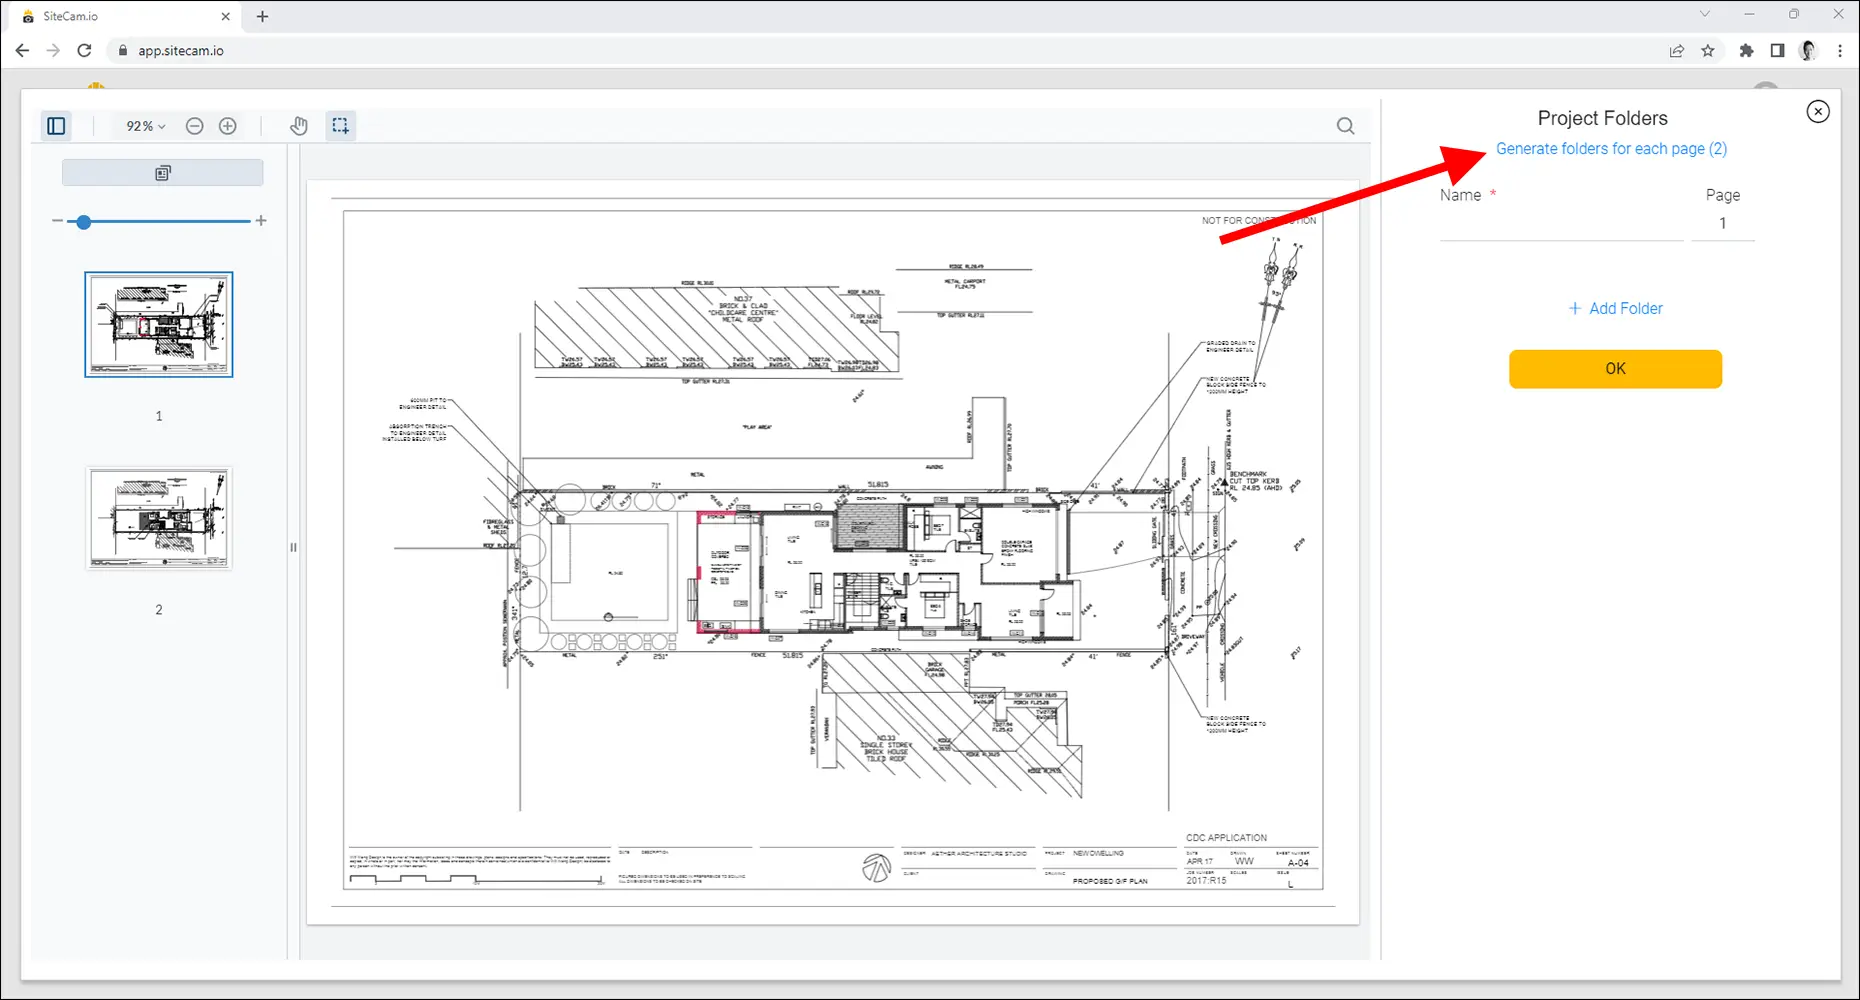
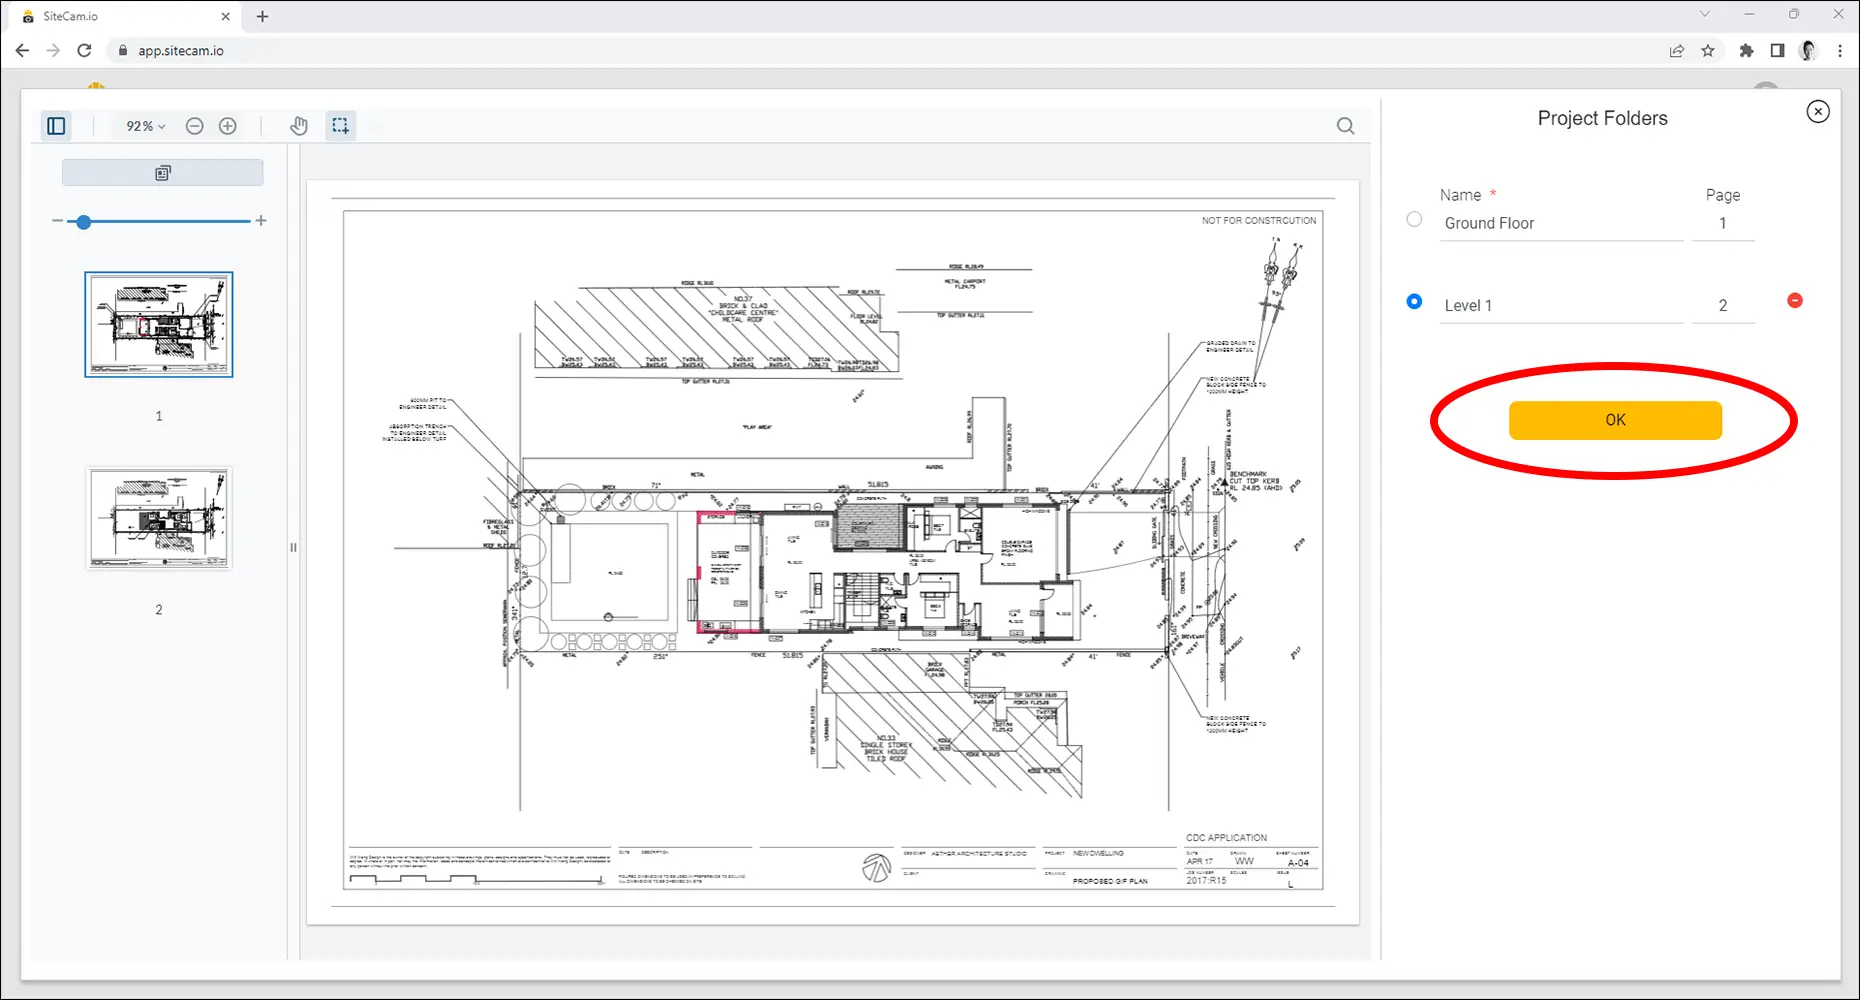
8. The right hand side shows the folders that will be created using this plan. Enter a name and the page number of the plan you want to assign to the folder. Press + Add Folder to create another folder.
9. Press the OK button to proceed to the next step.
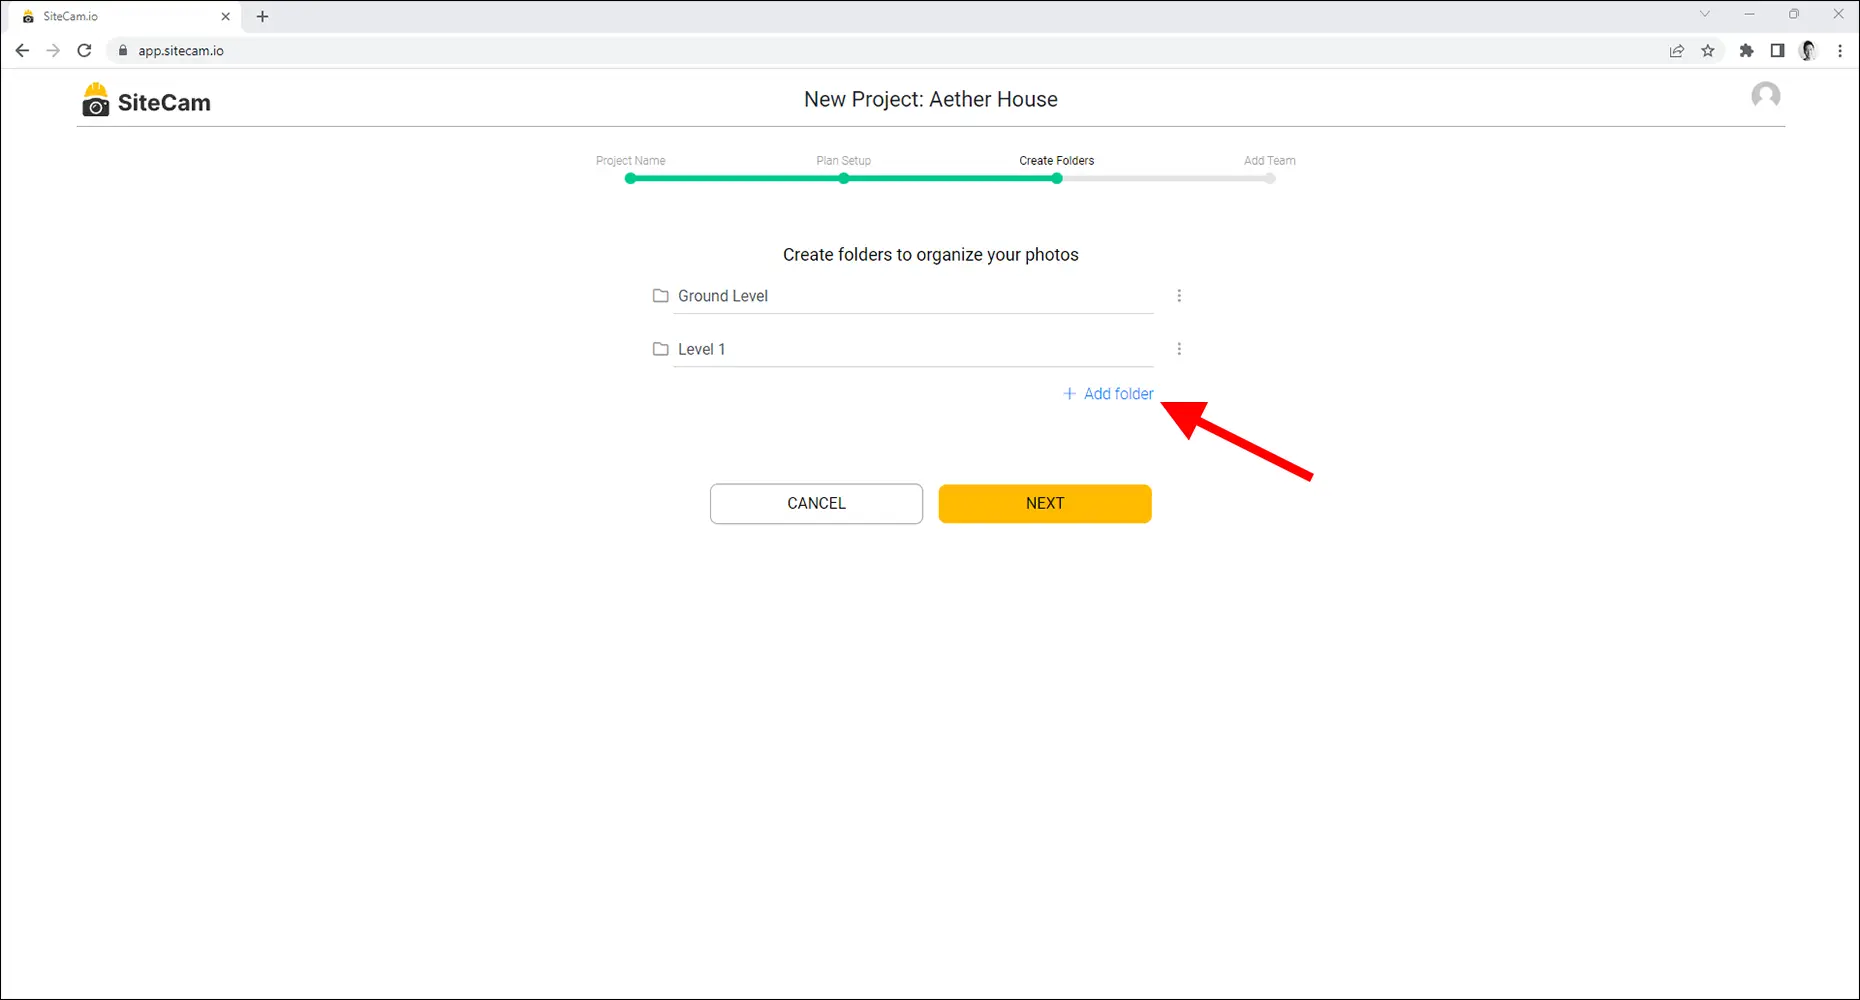
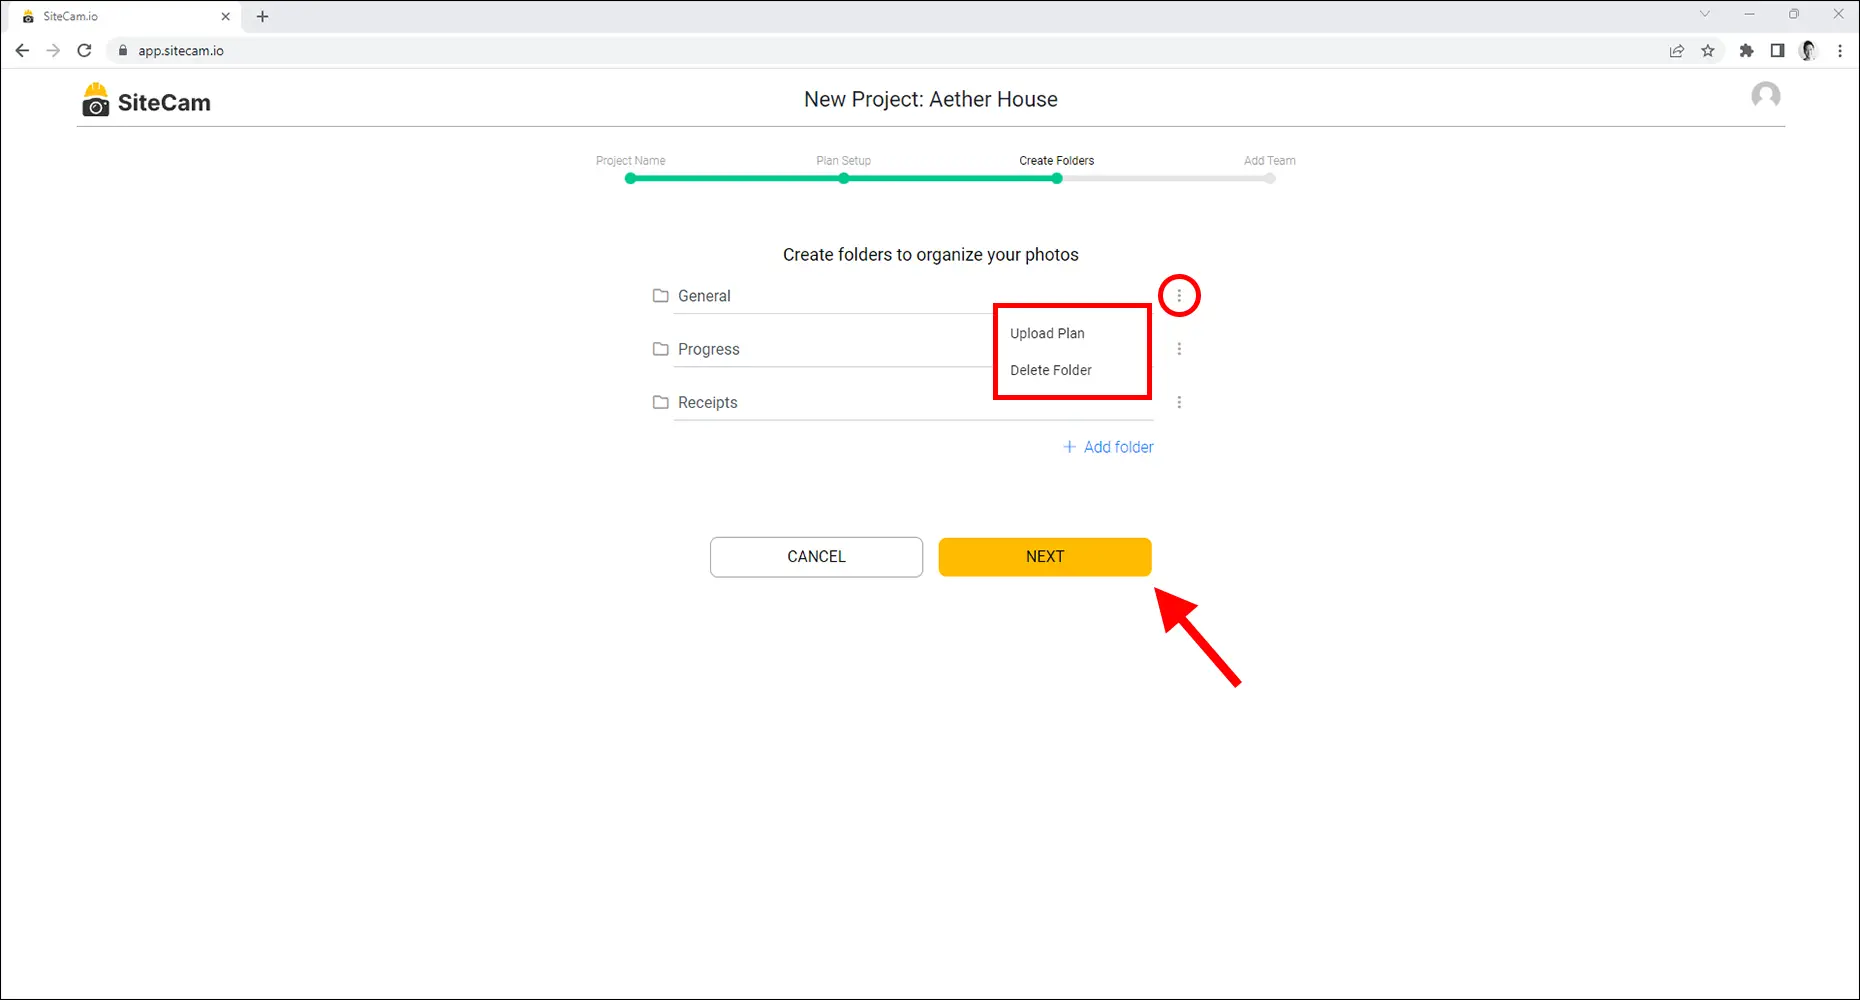
10. The folders created from the uploaded plans will be shown on the following screen. Press the + Add folder button to create additional folders to your project if required.
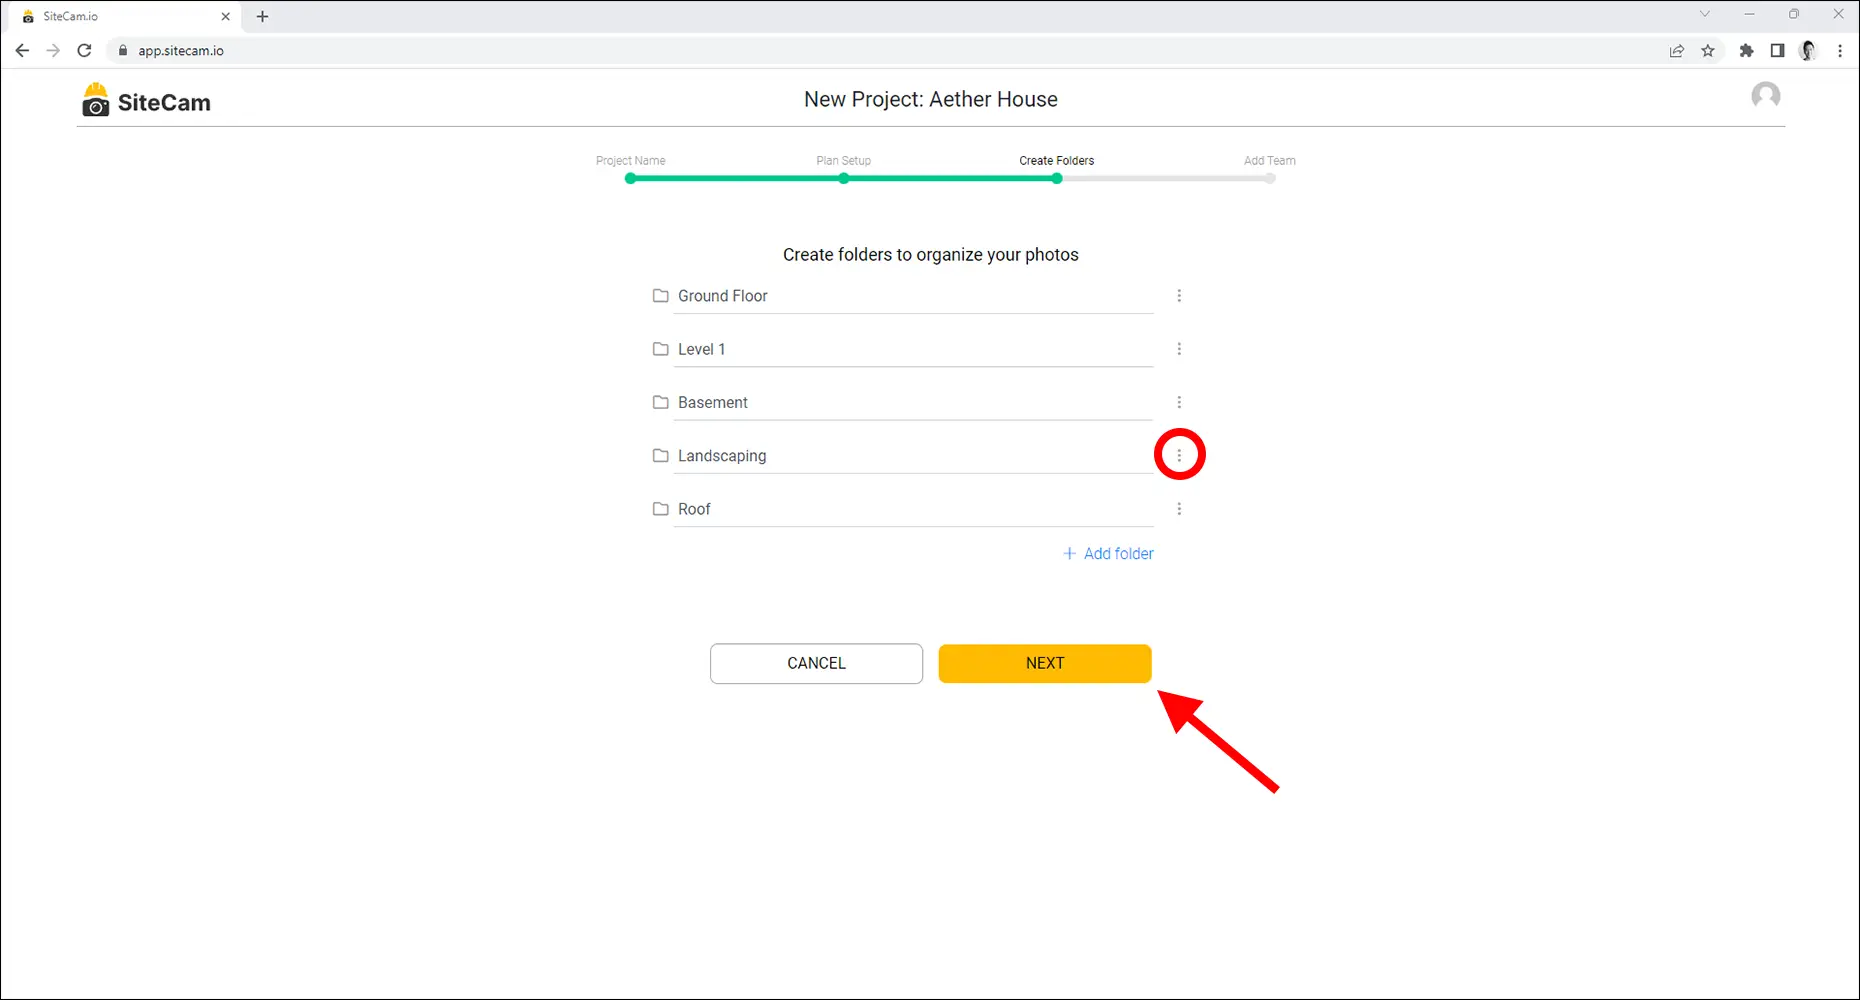
The 3 dot icon next to each folder will reveal a menu that will allow you to do the following:
- Delete folder – Remove the currently selected folder
- View plan – View the plan that is attached to the folder
- Upload plan – Attach a new plan to the folder
To proceed, press the NEXT button.
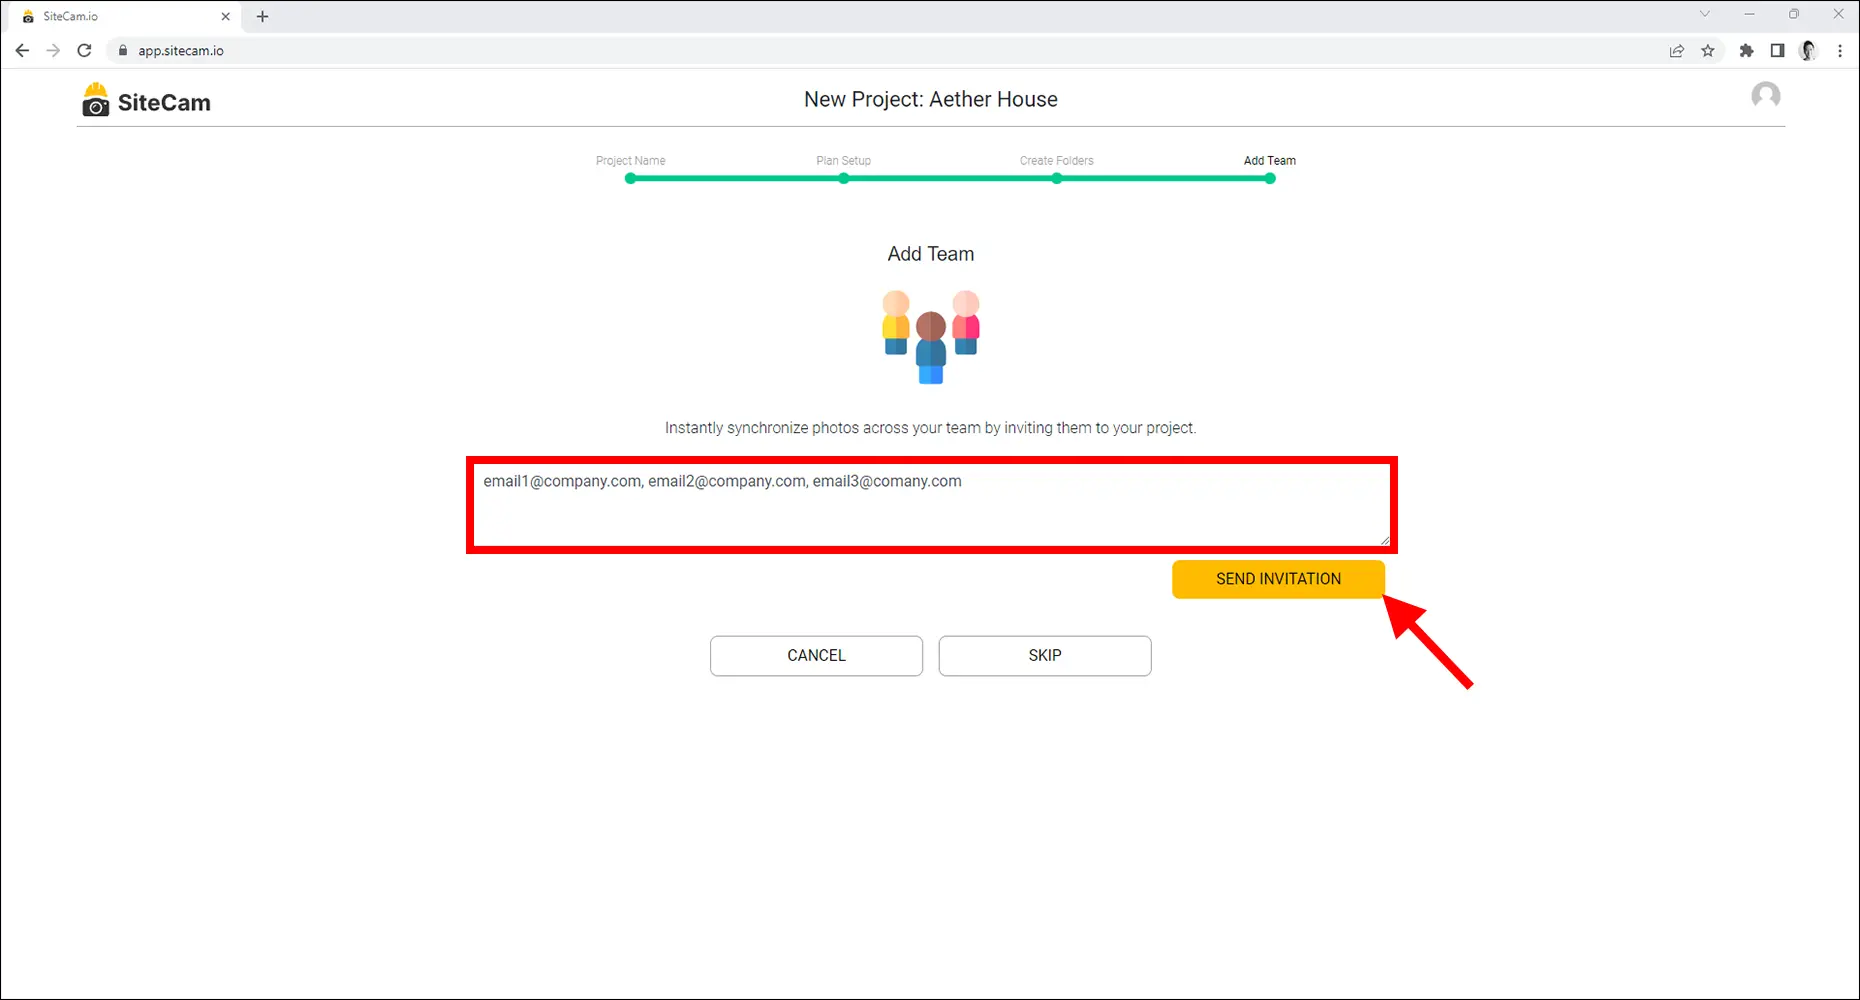
11. Invite some team members to your project by entering their email addresses in the form and clicking the SEND INVITATION button.
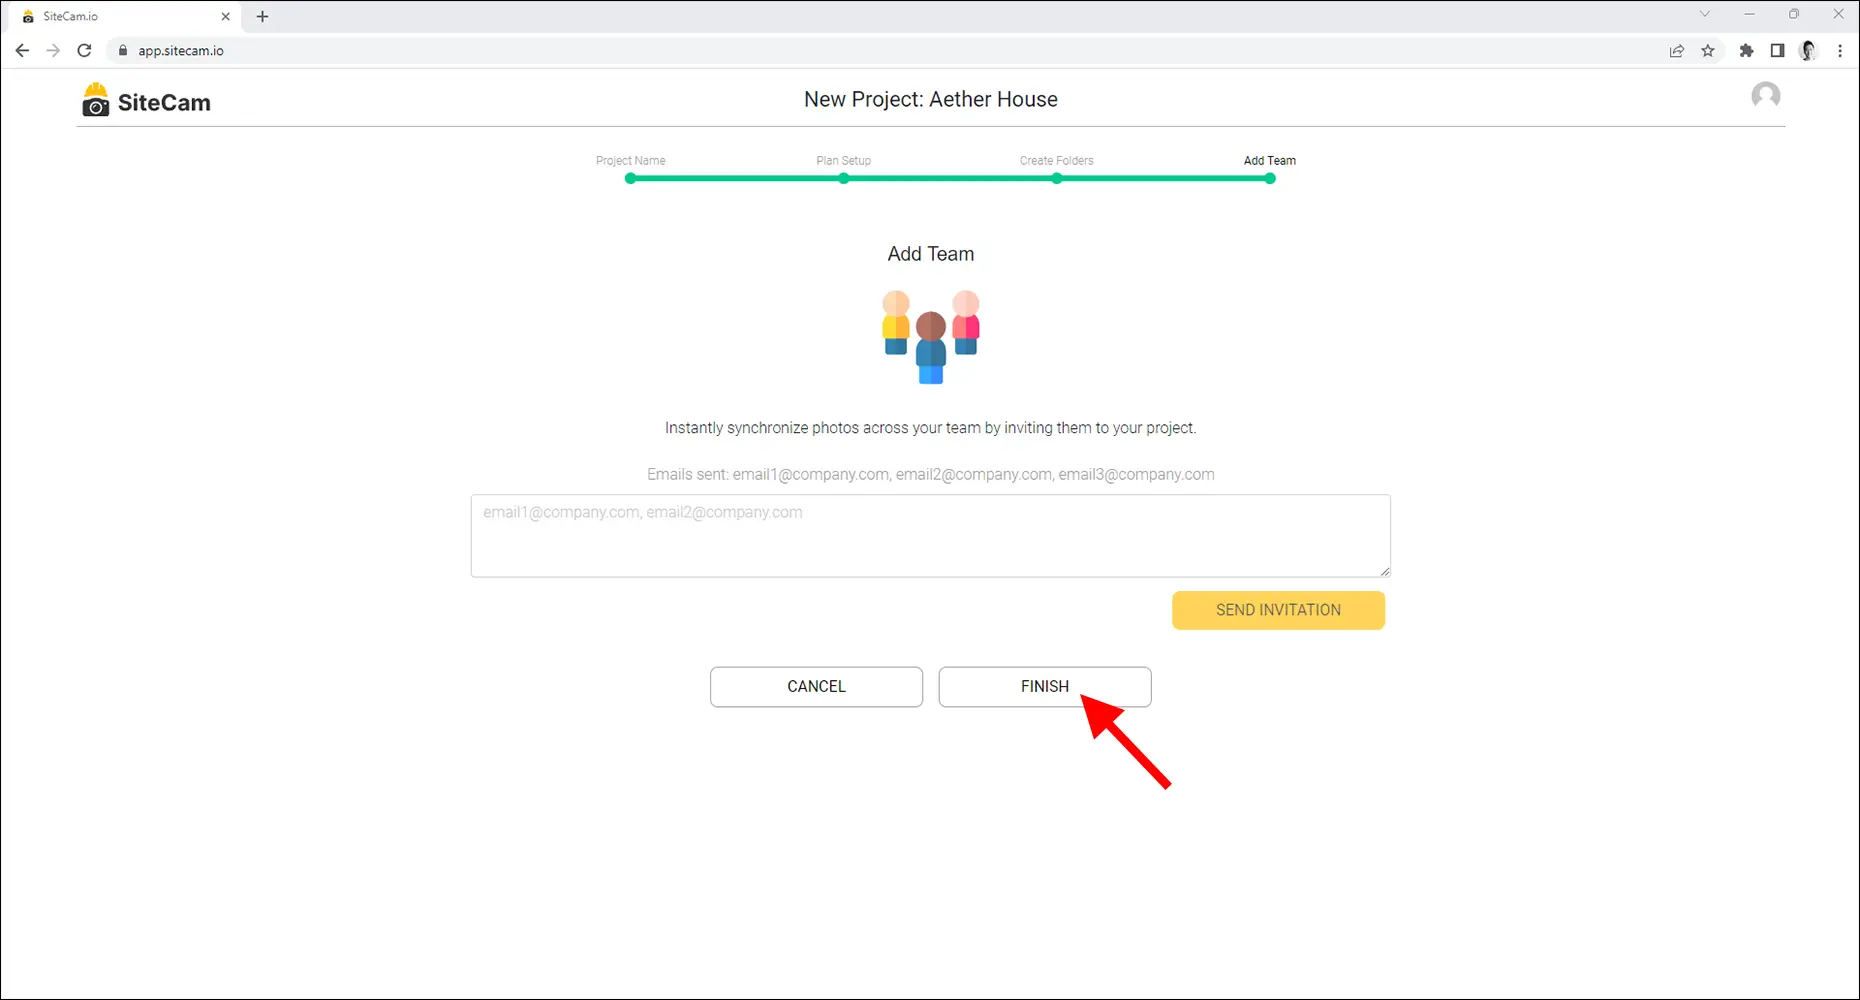
12. Press the Finish button to complete the project creation process.
Creating a Project Where You Don’t Pin Photos to Plans
1. Login to the SiteCam web app
2. Press the “+ NEW PROJECT” button on the Projects screen.
4. Select the No option if you don’t have plans to upload to your project.
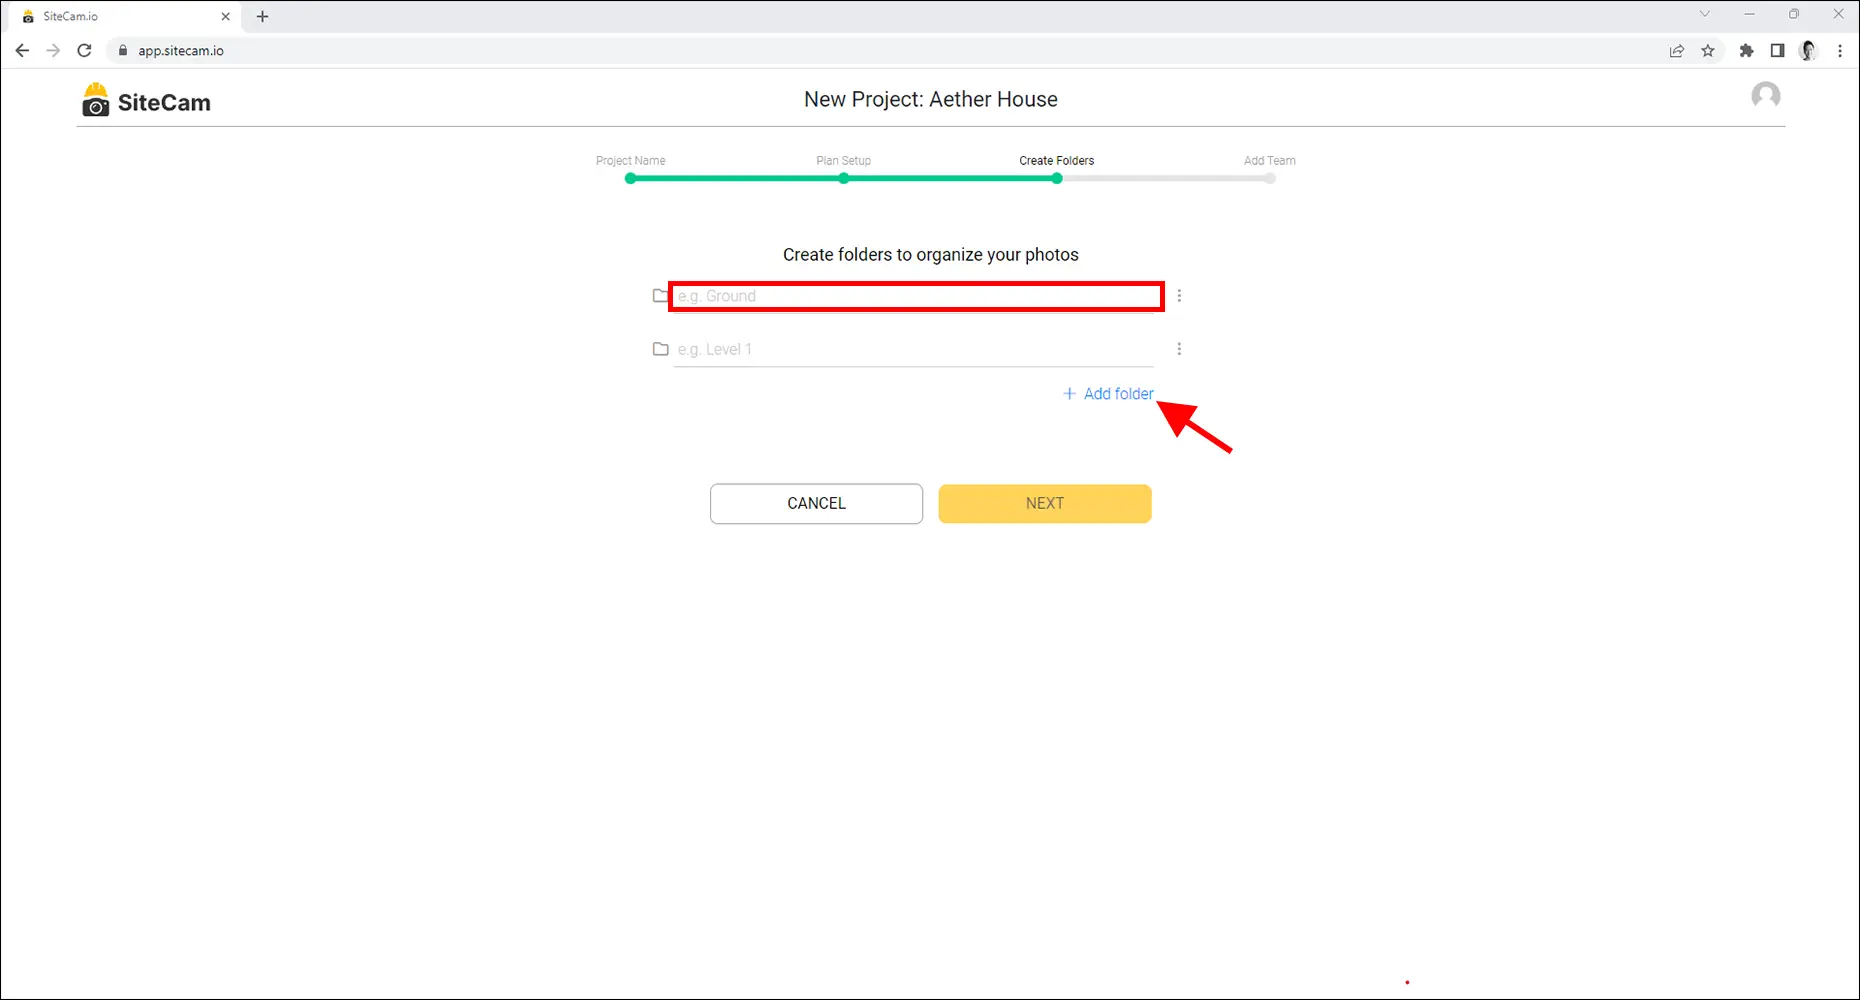
5. Create the folder structure you want to use to organize your photos. Give your folders a unique name. To create a new folder press the + Add folder button.
The 3 dot icon next to each folder will reveal a menu that will allow you to do the following:
- Delete folder – Remove the currently selected folder
- Upload plan – Attach a new plan to the folder
To proceed, press the NEXT button.
6. Invite some team members to your project by entering their email addresses in the form and clicking the SEND INVITATION button.
7. Press the Finish button to complete the project creation process.