
Tags in SiteCam are used to organize your project photos and makefinding photos easier. Tags can be added to Capture Groups during the capturing process or by going into Edit mode.
Tagging photos during the capturing process (Mobile)
1. Capture photos in SiteCam.
2. On the Review screen, look for the Tags section. For Plan or Map based projects, this is the screen after you’ve pinned the location.
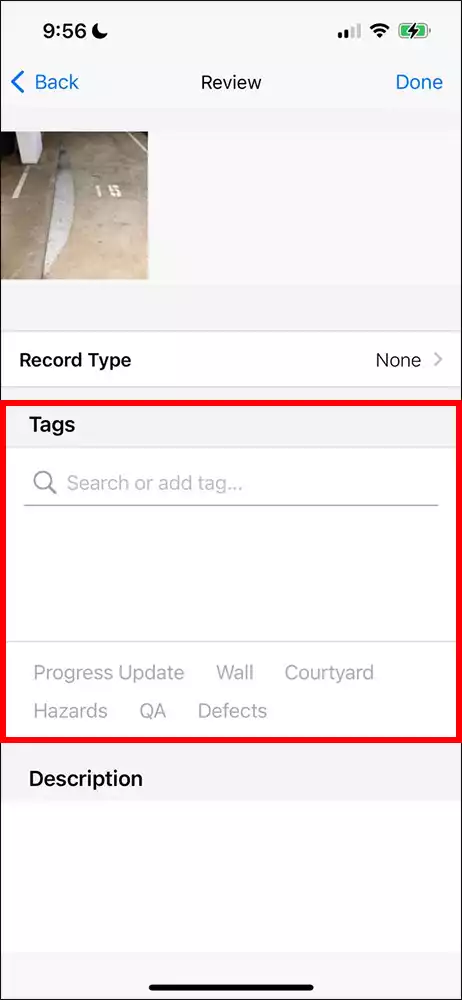
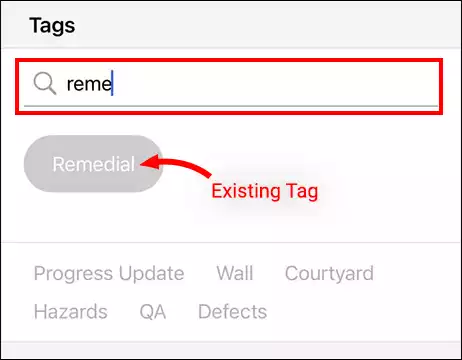
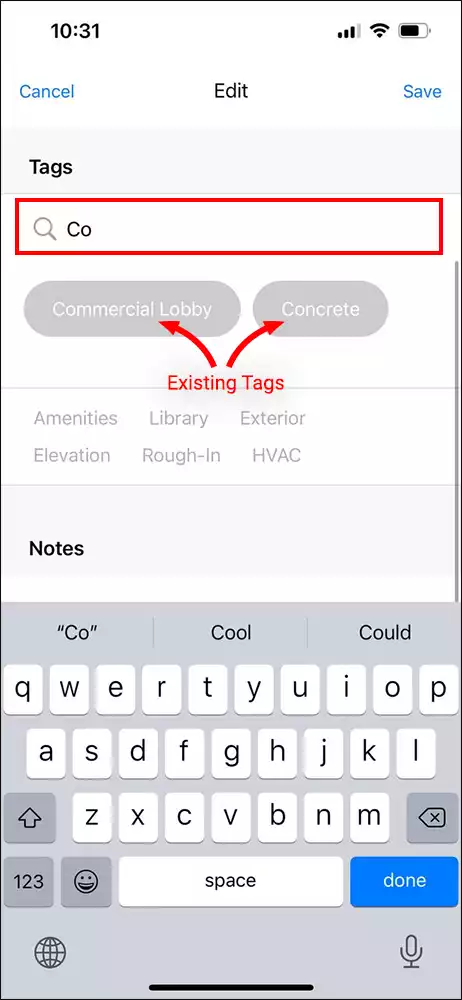
3. To add tags, simply type them into the text field and press the done button on the keyboard. Existing tags will appear underneath as you are typing it in. Tap on them to add them to your tags list.
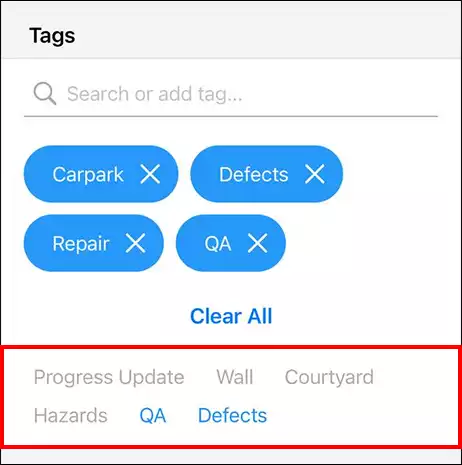
4. Recently used tags will appear in a list below. You can quickly tap on them to include them as well.
5. When you are happy with the tags, press the Done button on the Review screen to save your capture.
Tagging existing photos (Mobile)
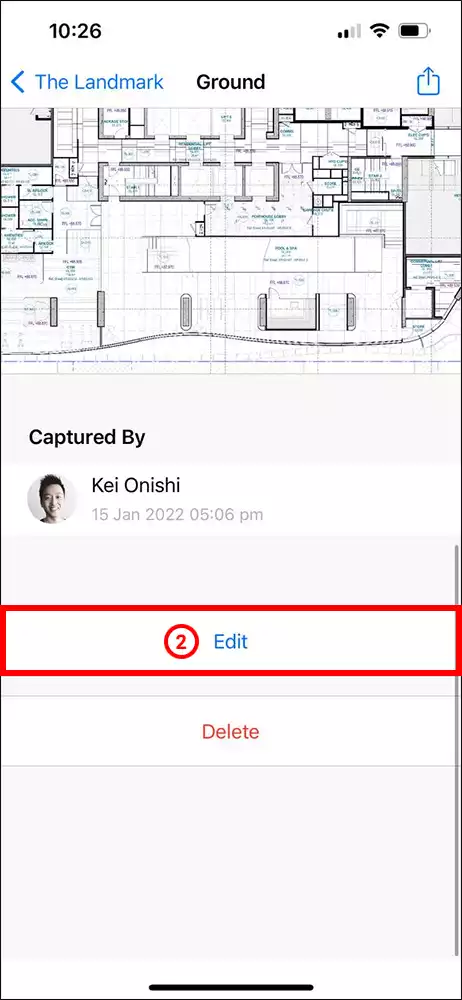
1. Browse for the photo that you want to add tags to and open it.

2. Scroll down to the bottom of the capture screen and press the Edit button.
3. To add tags, simply type them into the text field and press the done button on the keyboard. Existing tags will appear underneath while you are typing it in. Tap on them to add them to your tags list.
4. Recently used tags will appear in a list below. You can quickly tap on them to include them as well.

5. When you are happy with the tags, press the Save button on the capture screen to save your changes.
Tagging existing photos (Web)
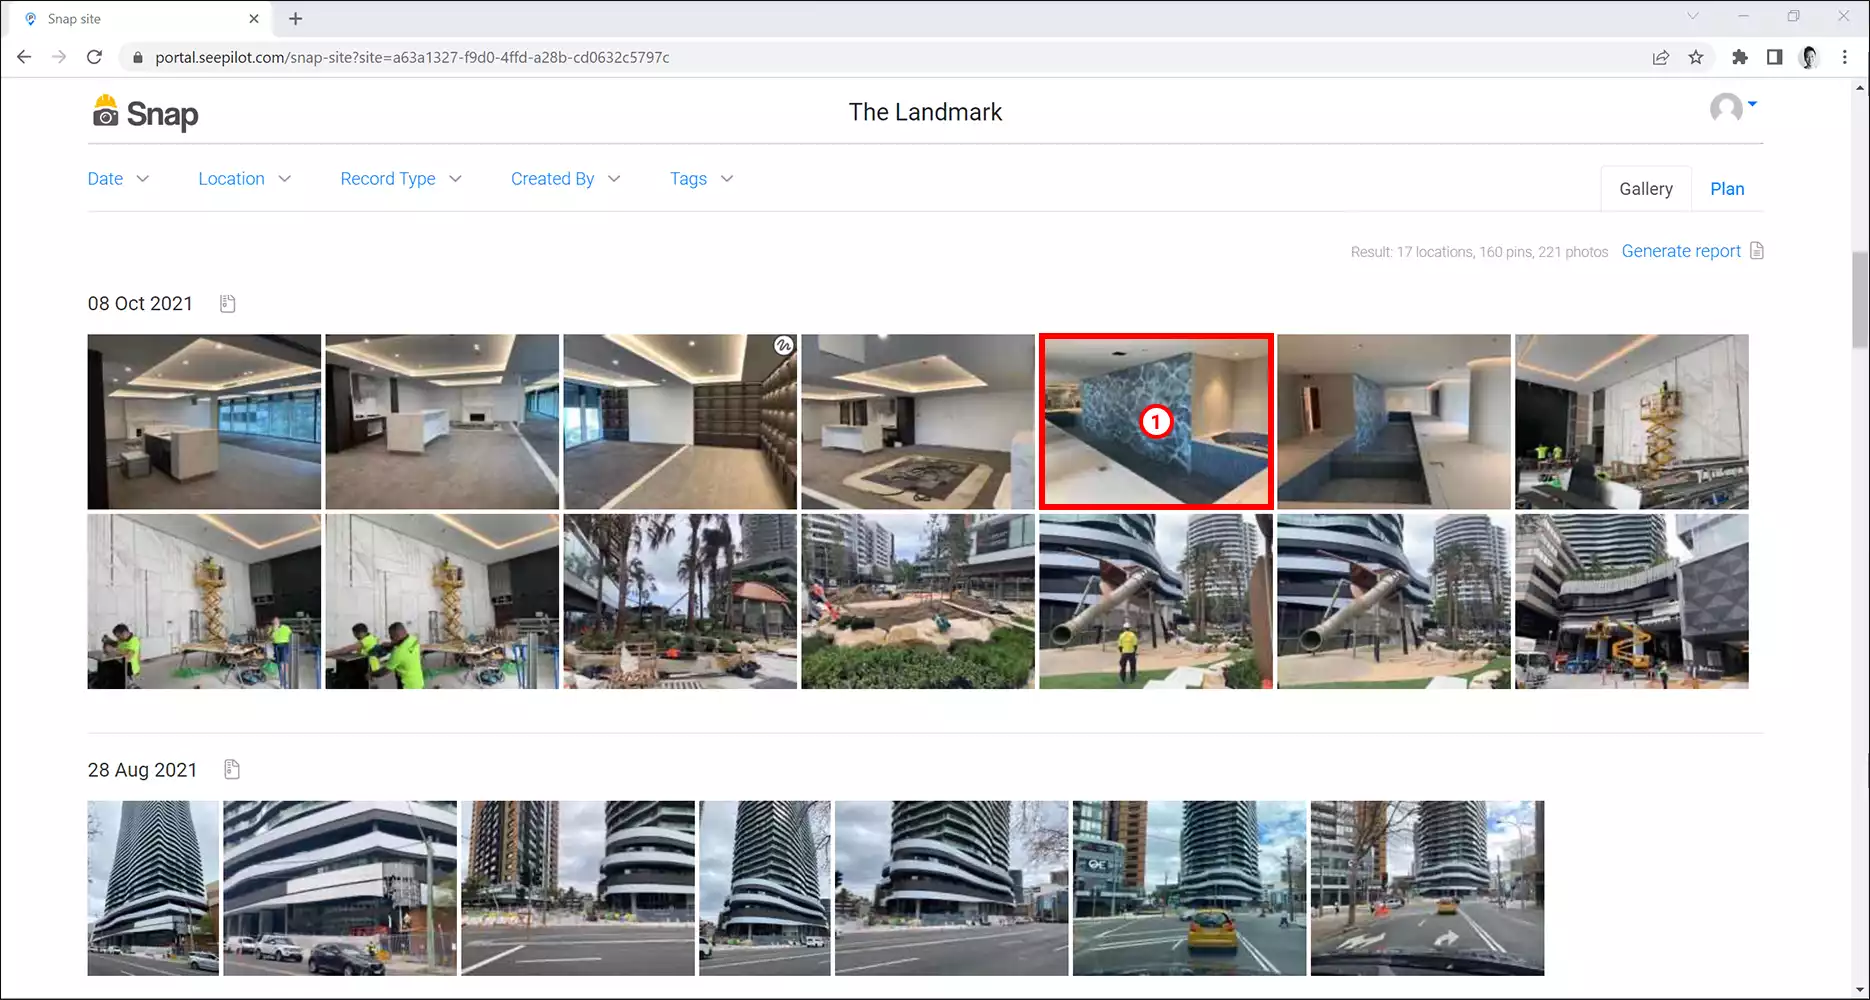
1 Login to the SiteCam web portal and browse for the photo that you want to add tags to. Click on it to open it.
2. Click on the Edit button next to the Tags field.
To add tags, simply type them into the text field and press the Enter Key. Existing tags will appear underneath while you are typing it in. Click on them to add them to the tags list.

3. When you are happy with your tags press the Save button.
