You can now add new photos to an existing Capture Group. When you do this, it will create a timeline within the selected Capture Group that can be used to show progress or changes in a location over time.
How to Add Timeline Photos (Web)
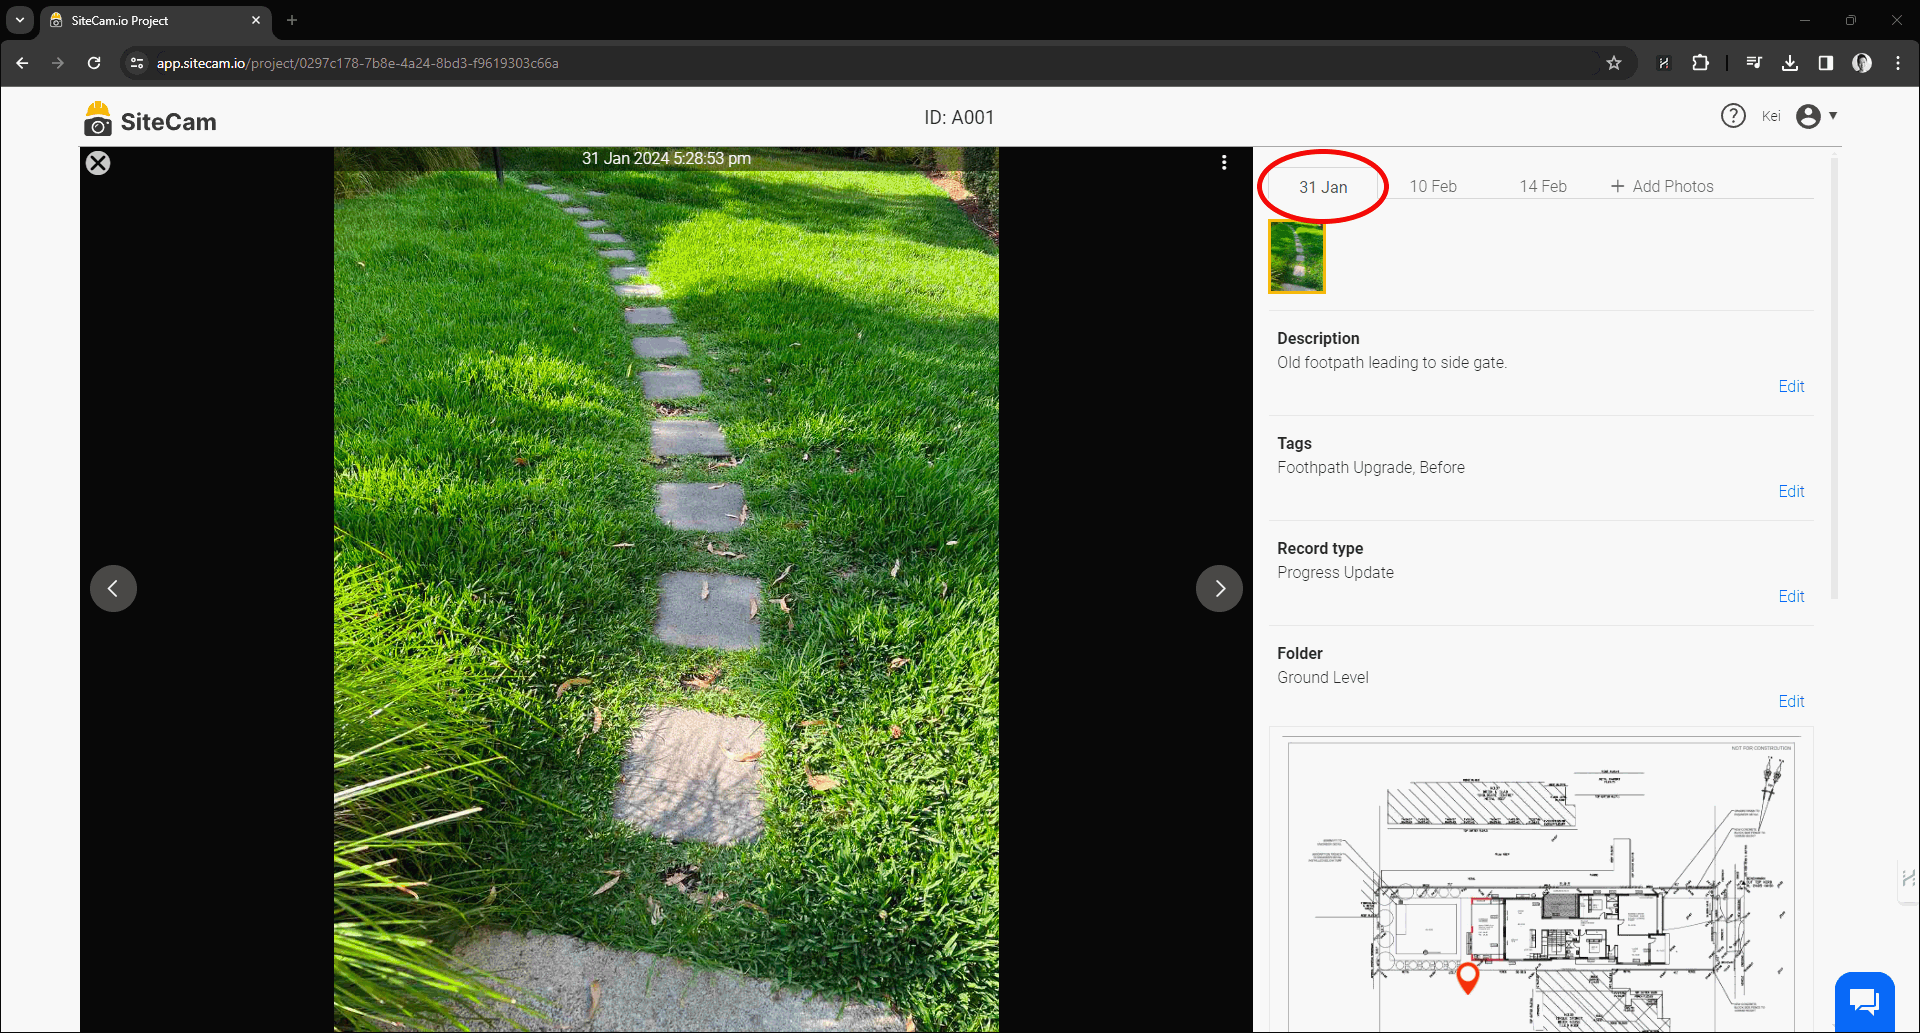
1. Login to the SiteCam Web App and open your project.
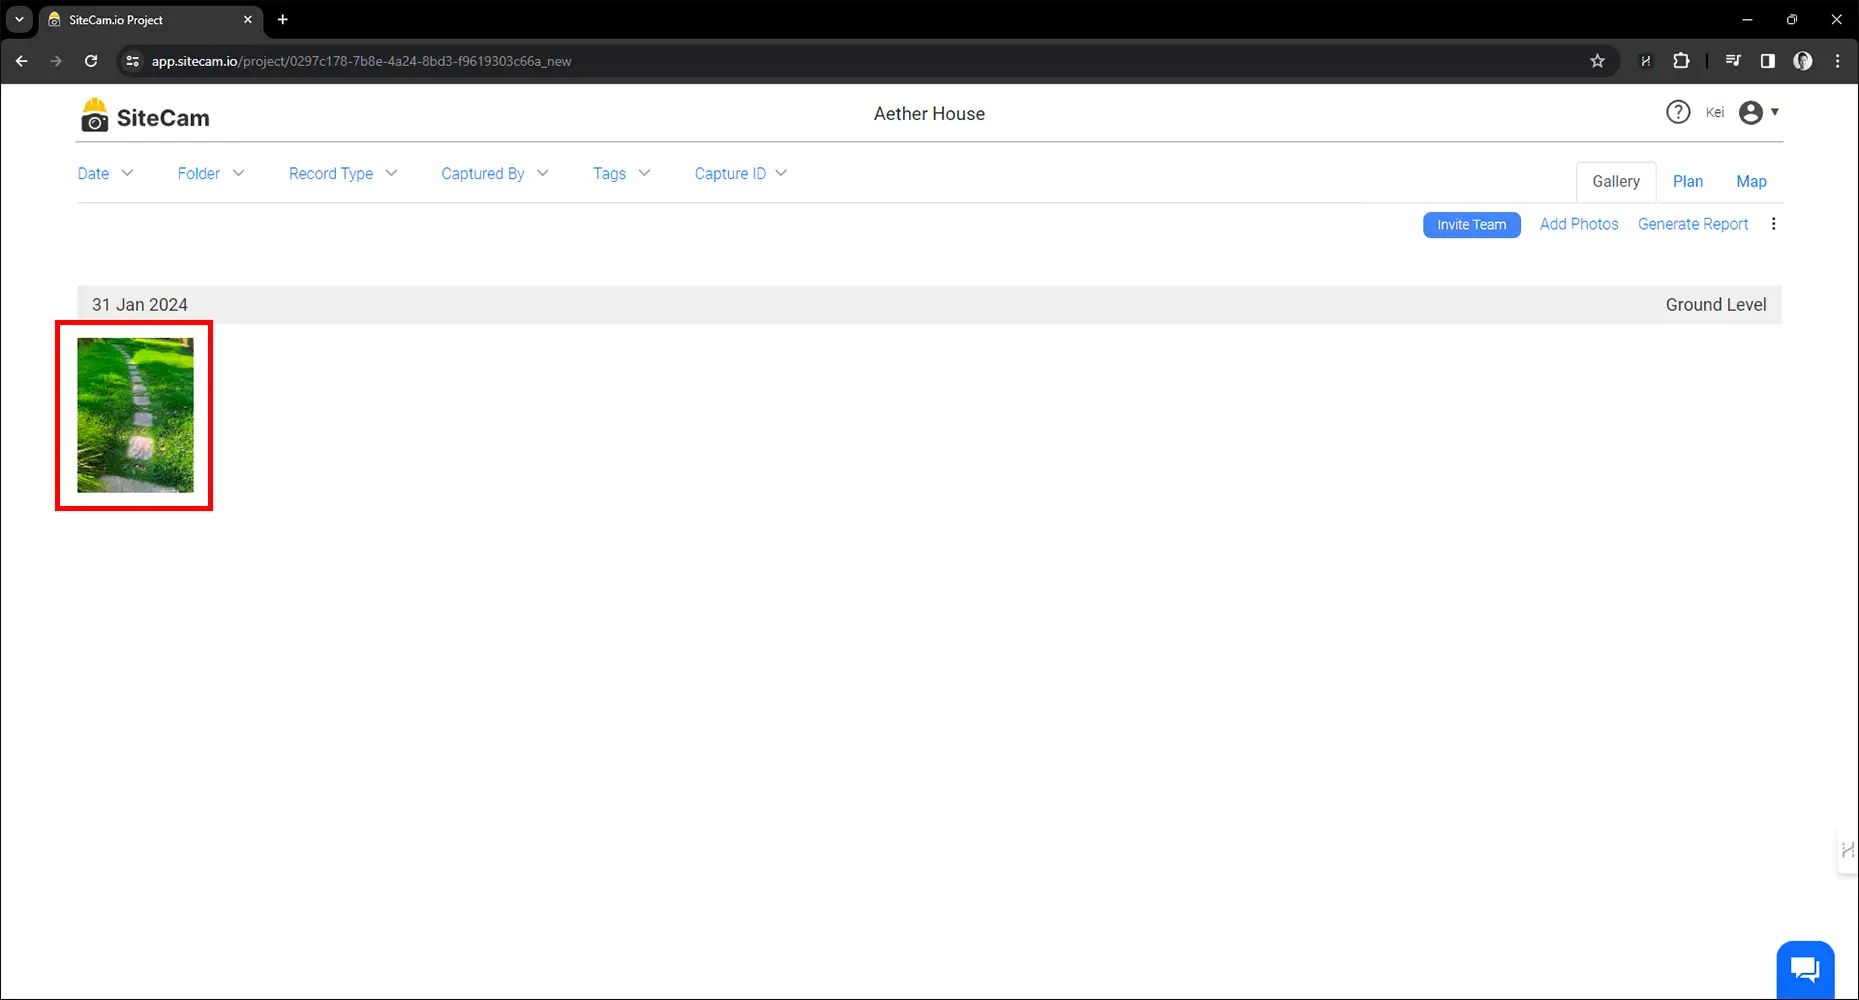
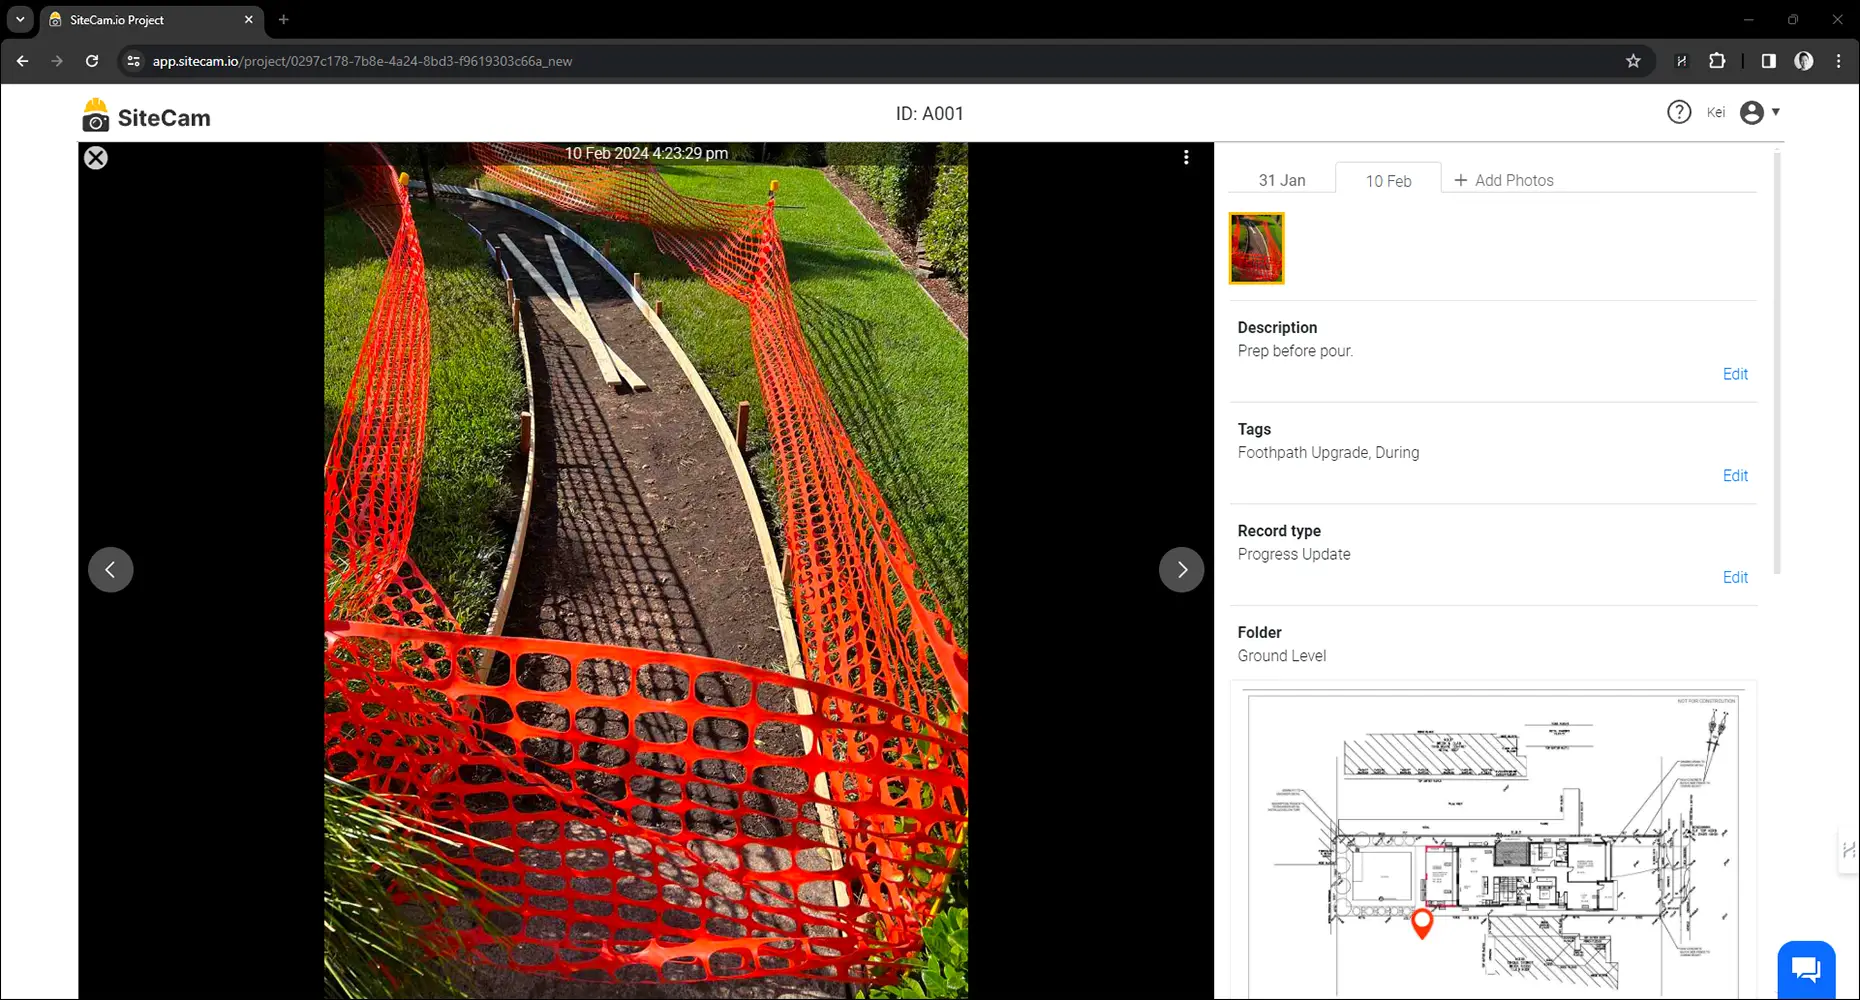
2. Open an existing Capture Group you want to add new photos to.
3. Click on the “+ Add Photos” button on the top right of the screen.
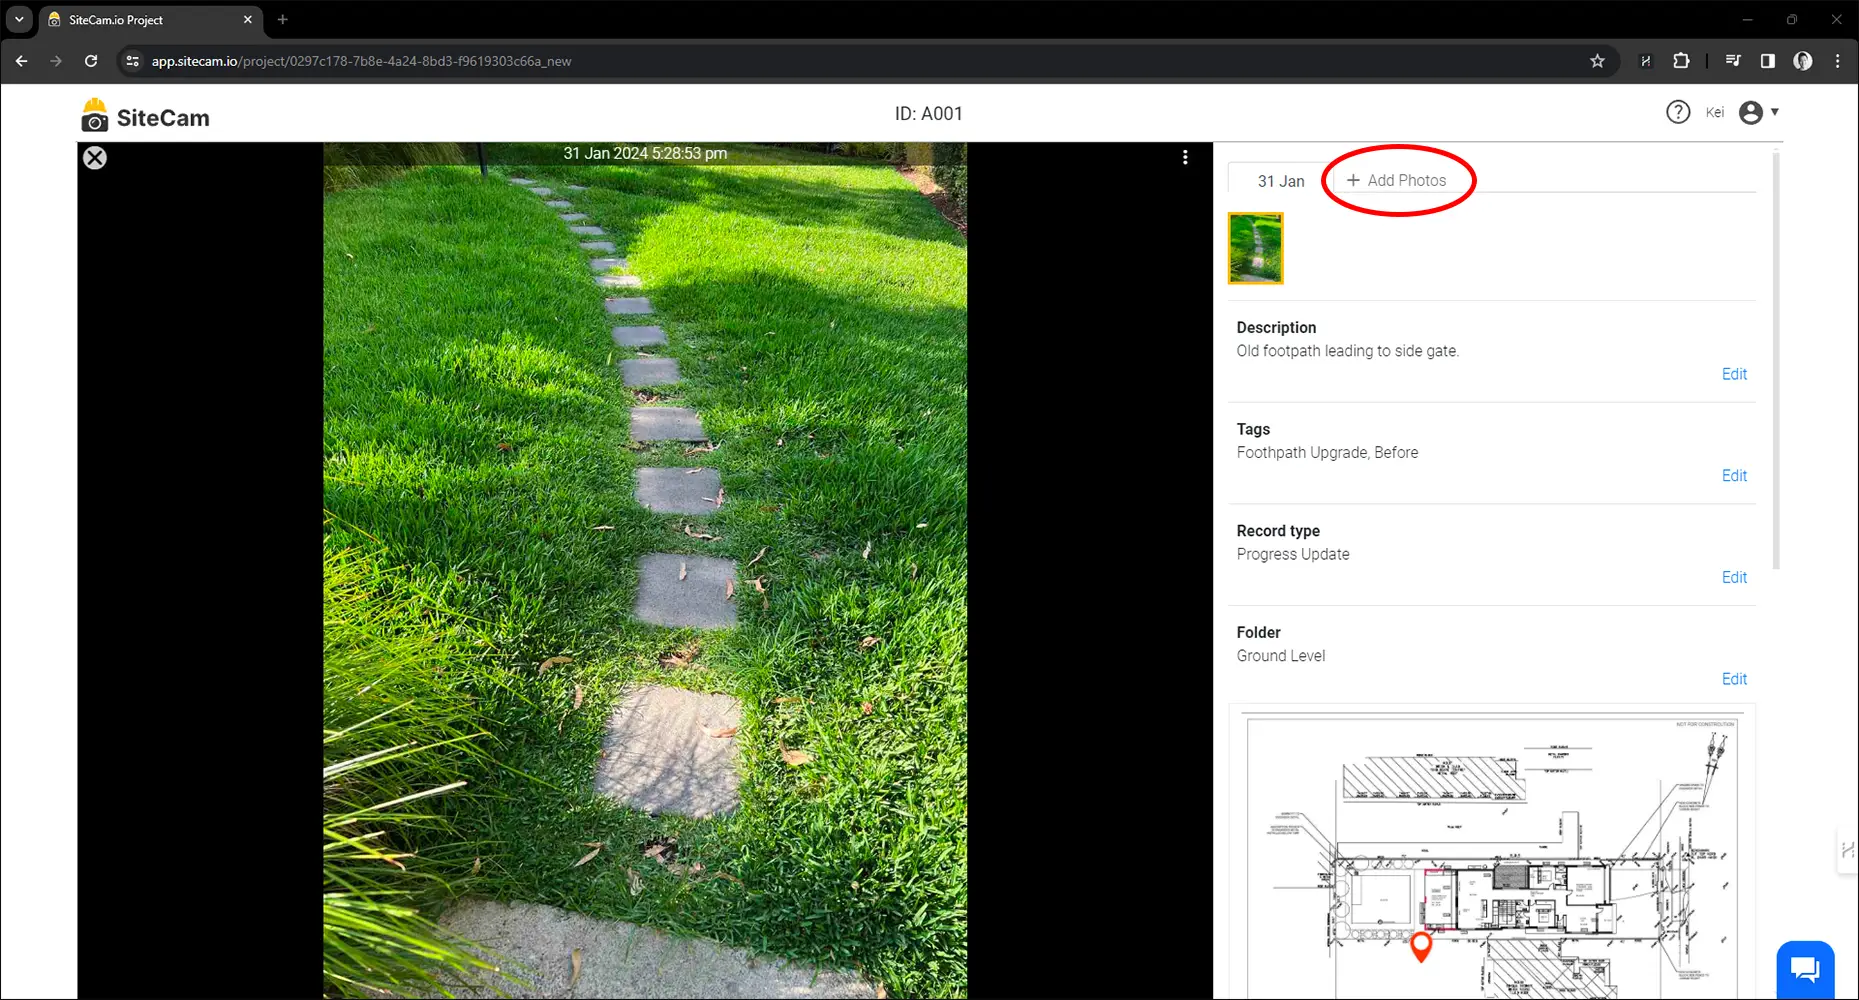
4. Select the photos to add to the timeline. You can include a new Description text and Tags for the timeline item.
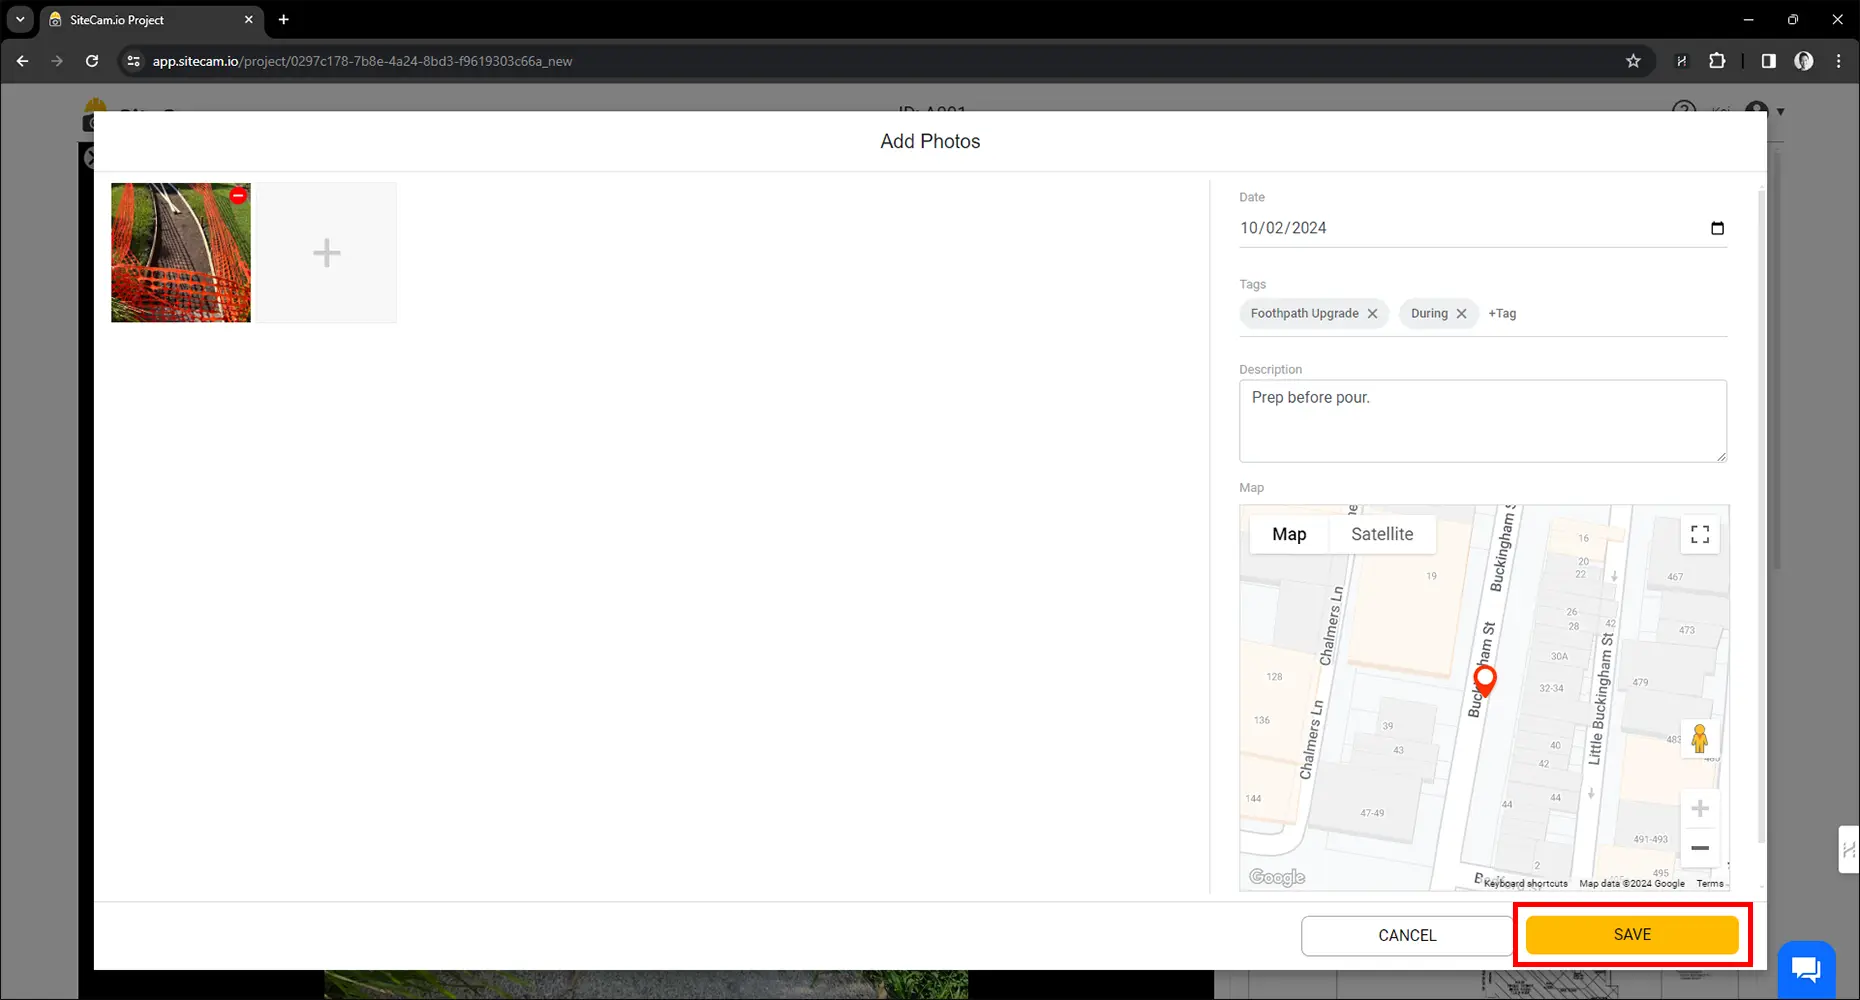
5. Press SAVE to finish uploading the photos.
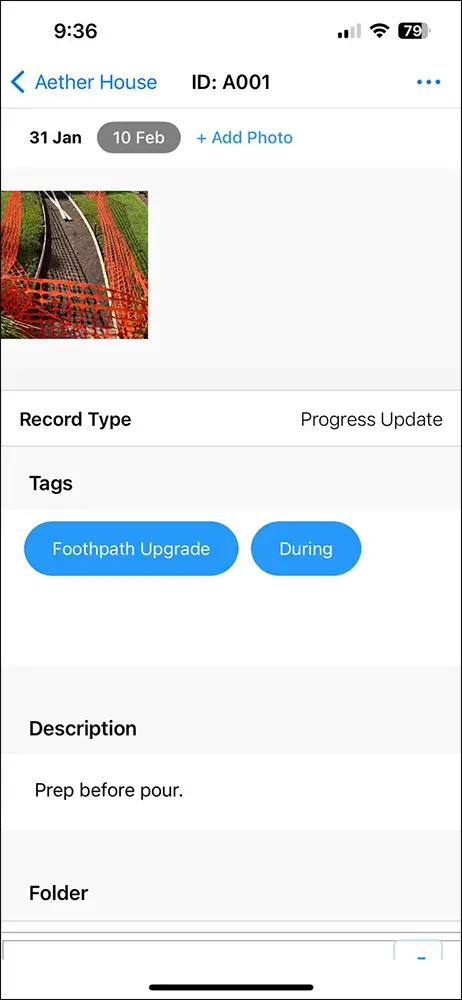
How to Add Timeline Photos (Mobile)
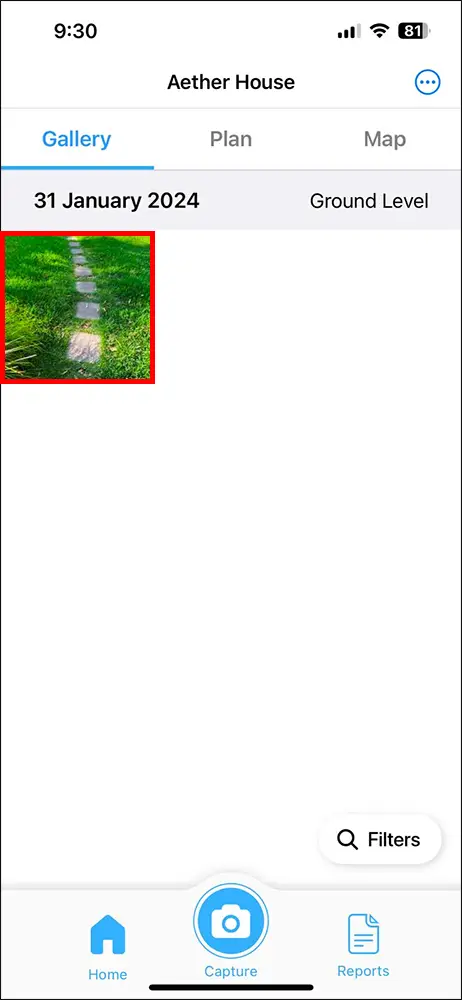
1. Open the SiteCam mobile app
2. Open an existing Capture Group you want to add new photos to.
3. Click on the “+ Add Photo” button at the top of the screen.
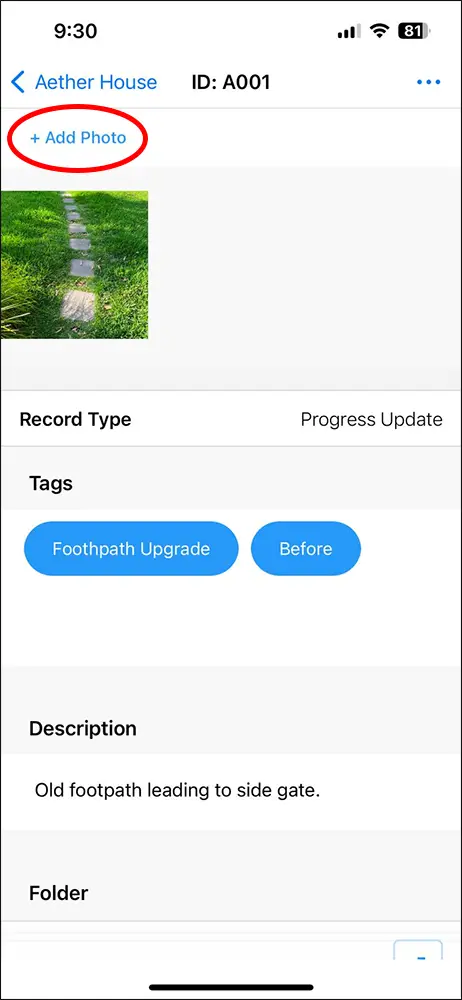
4. Select the photos to add to the timeline. You can include a new Description text and Tags for the timeline item.
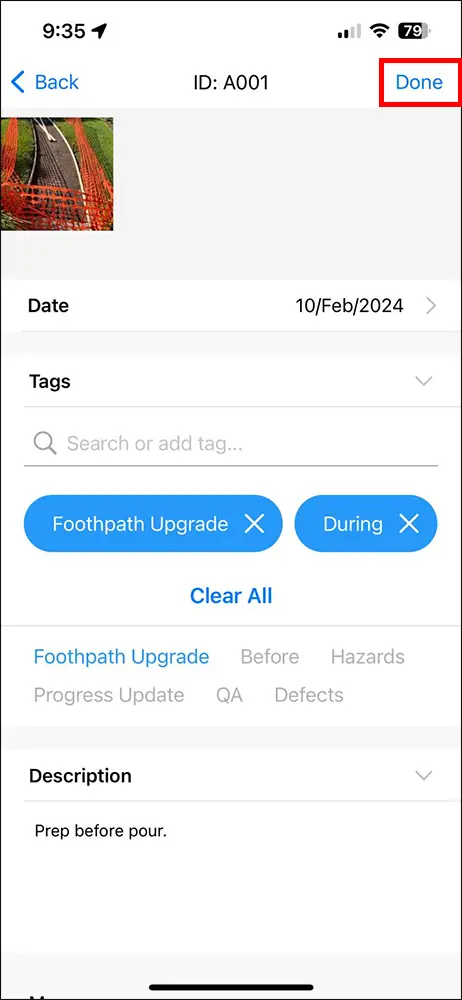
5. Press SAVE to finish uploading the photos.