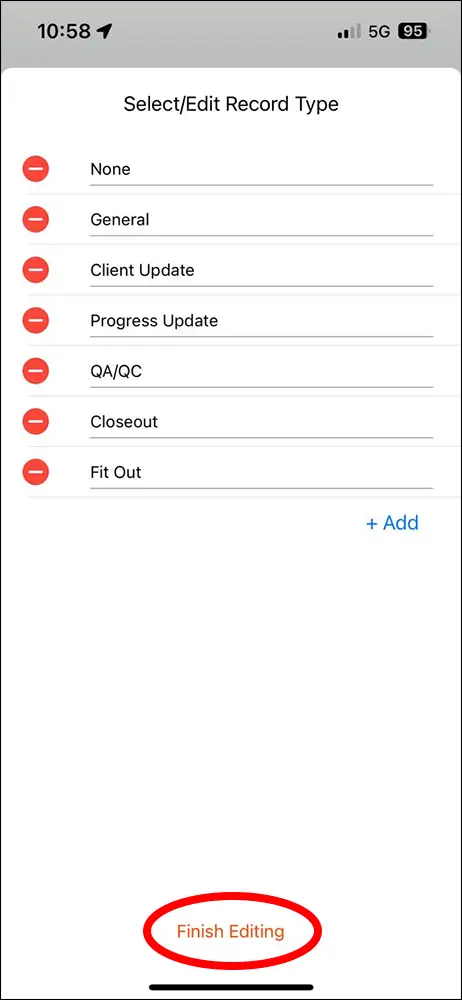
If you are the owner of the project (or an Admin of the Organization) you can add, rename or delete Record Type items.
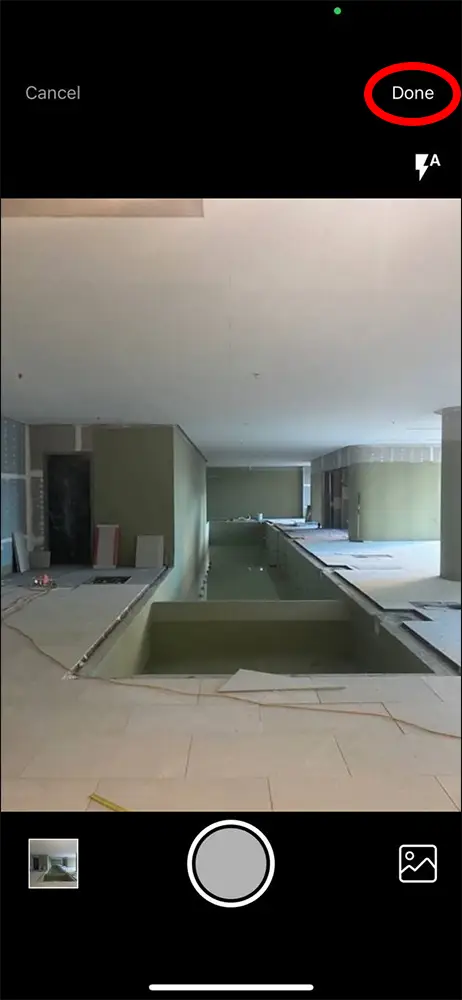
1. Open the SiteCam app.
2. Take some photos and press the Done button
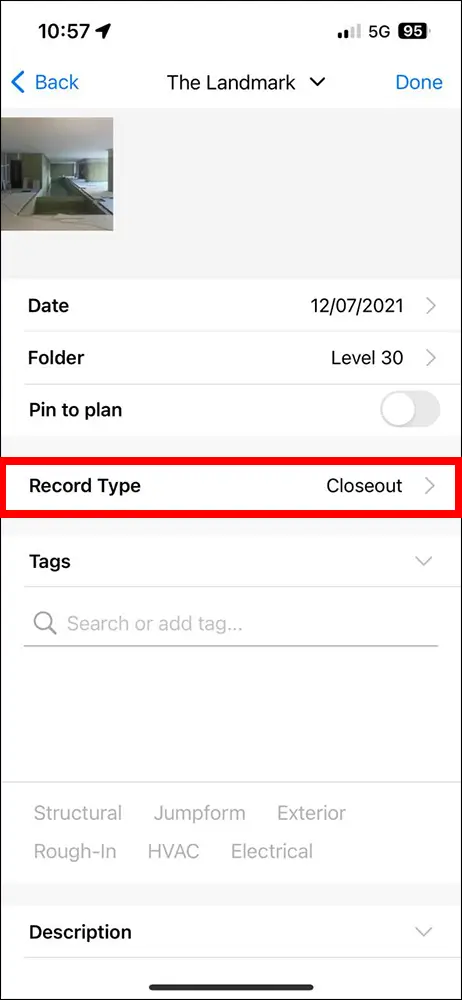
3. Tap on the Record Type field.
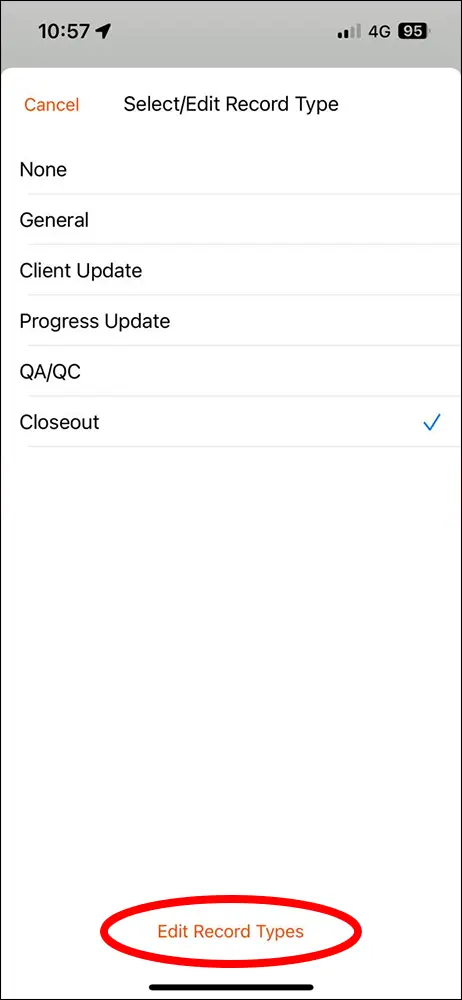
4. Press the Edit Record Types button at the bottom of the screen.
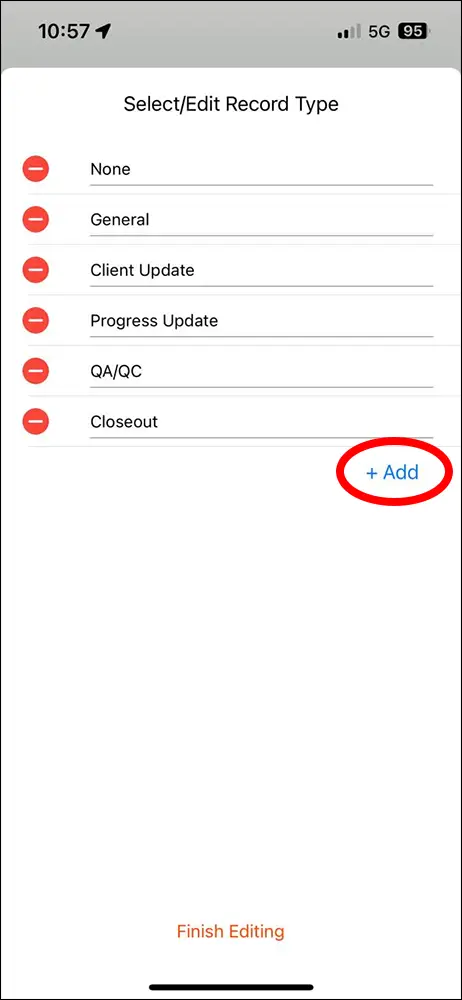
To add a new Record Type, tap on the + Add button.
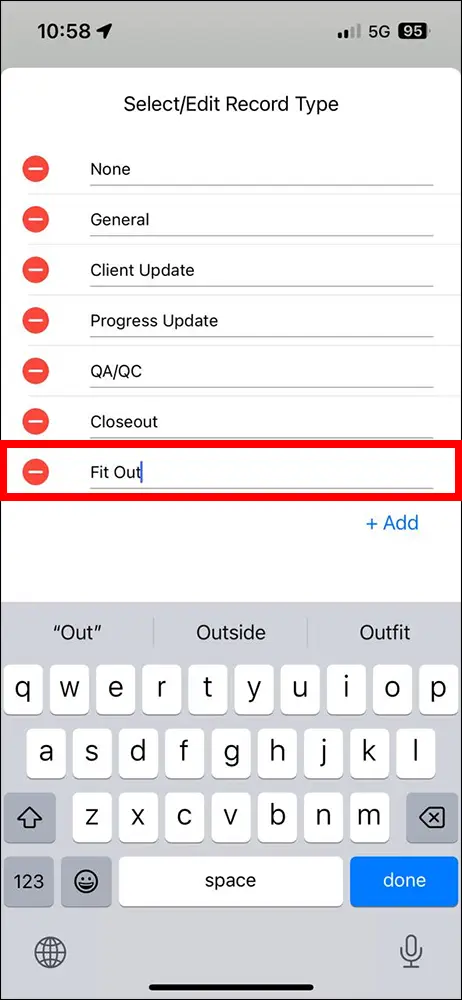
Type in the new Record Type and press the done button.
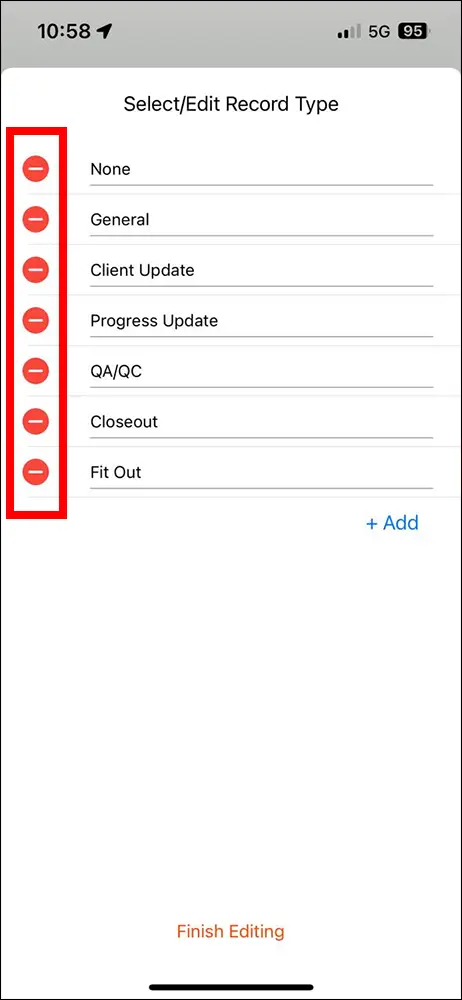
To delete a Record Type, tap on the delete icon next to the item.
Press the Finish Editing button to save the changes.