
1. Login to the SiteCam Web App
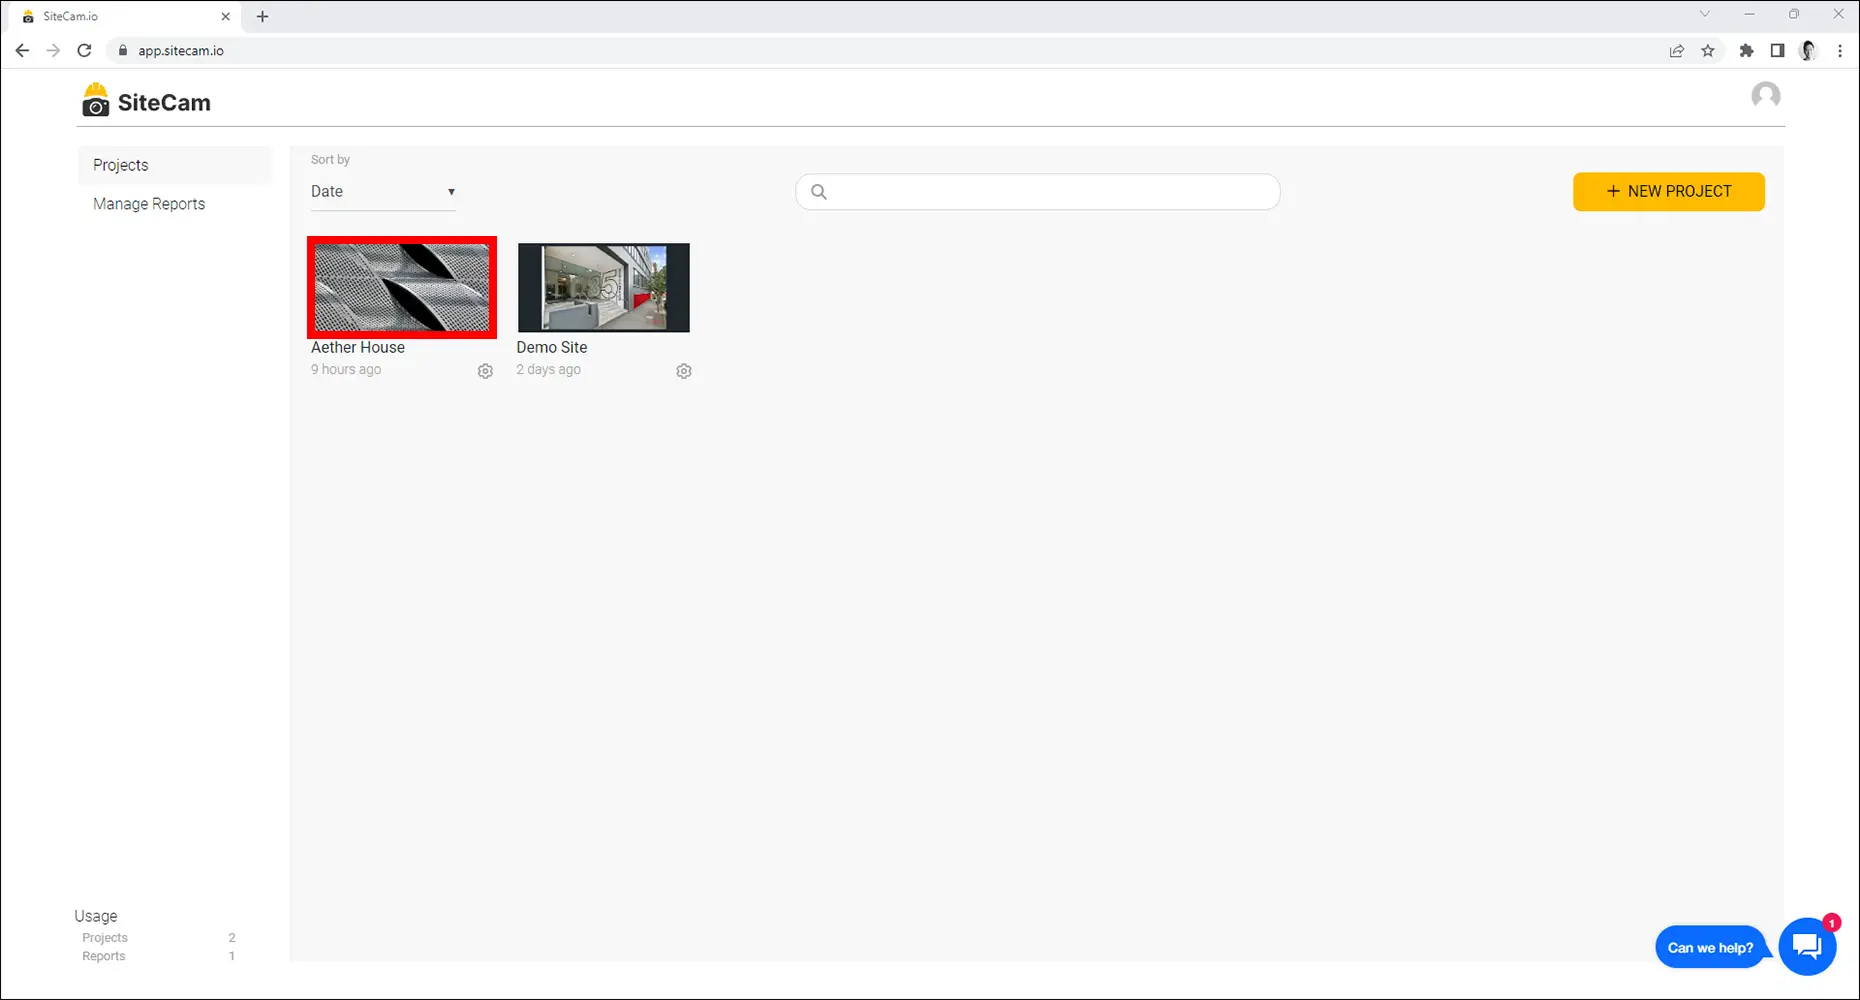
2. Open the project you want to upload photos into.
3. Click on the Add Photos button.

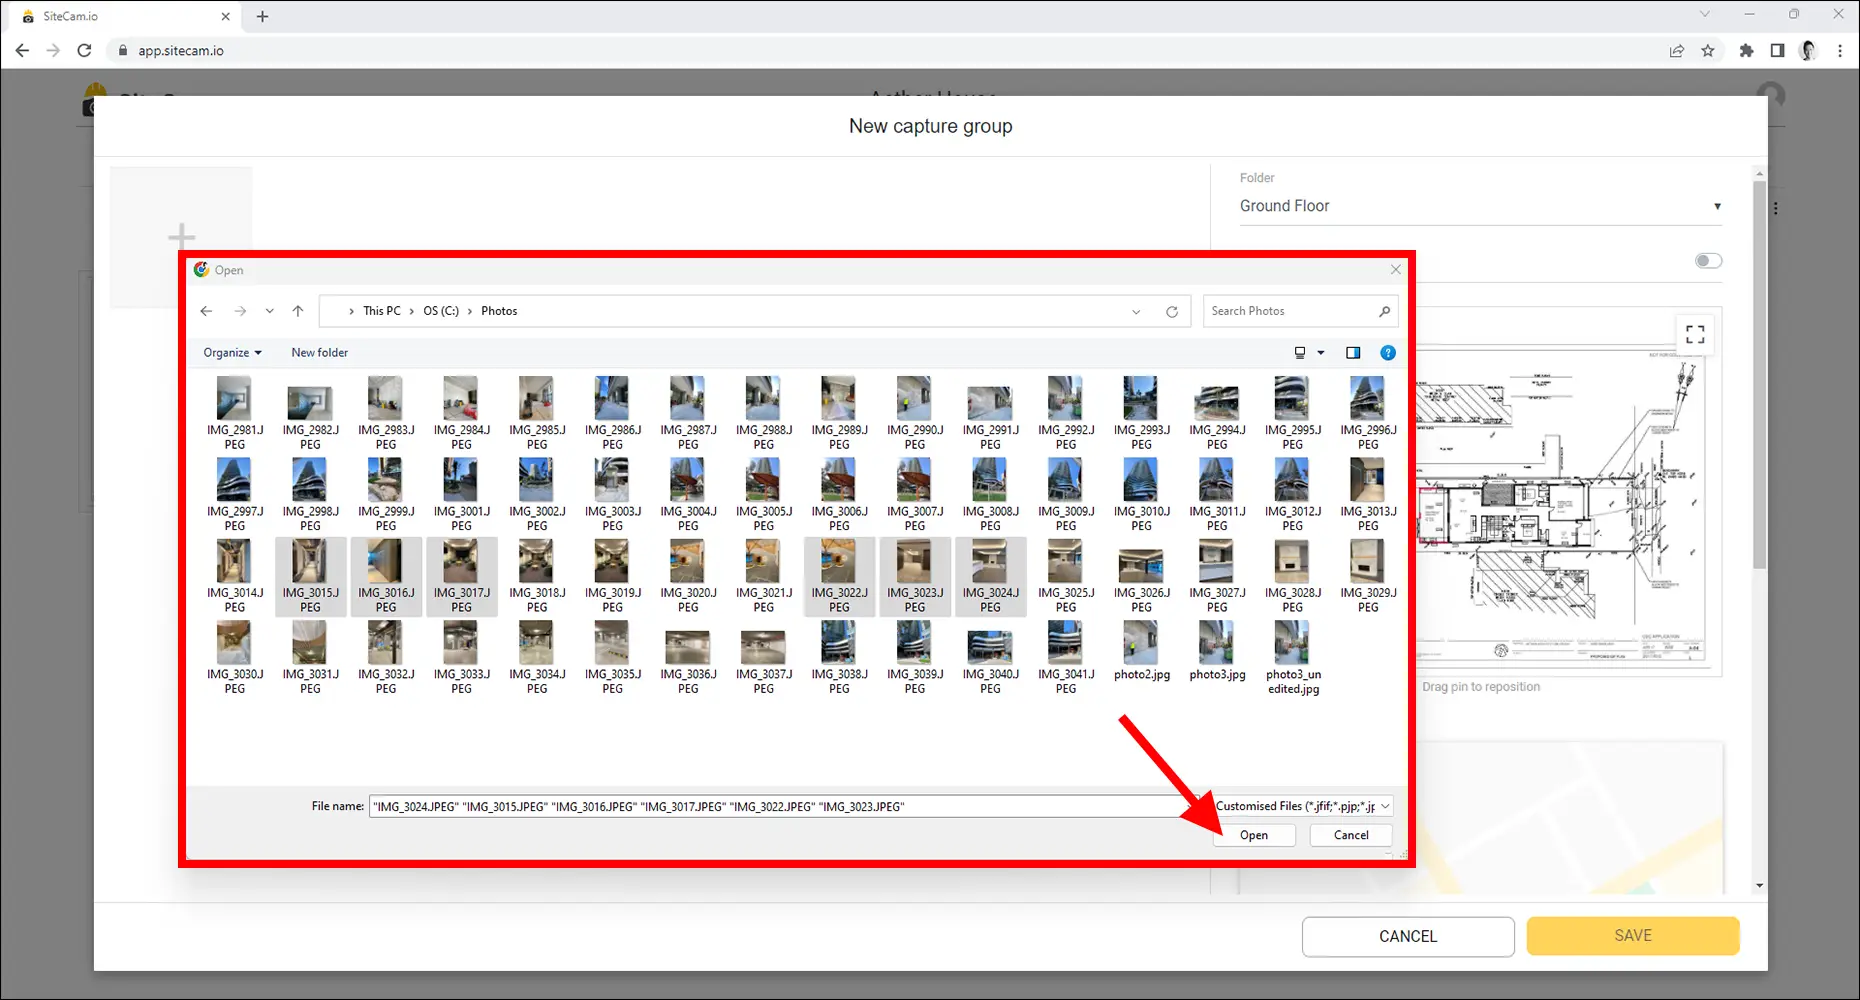
4. Navigate to where the photos are saved on your computer. Select the photos you want to upload and press the Open button.
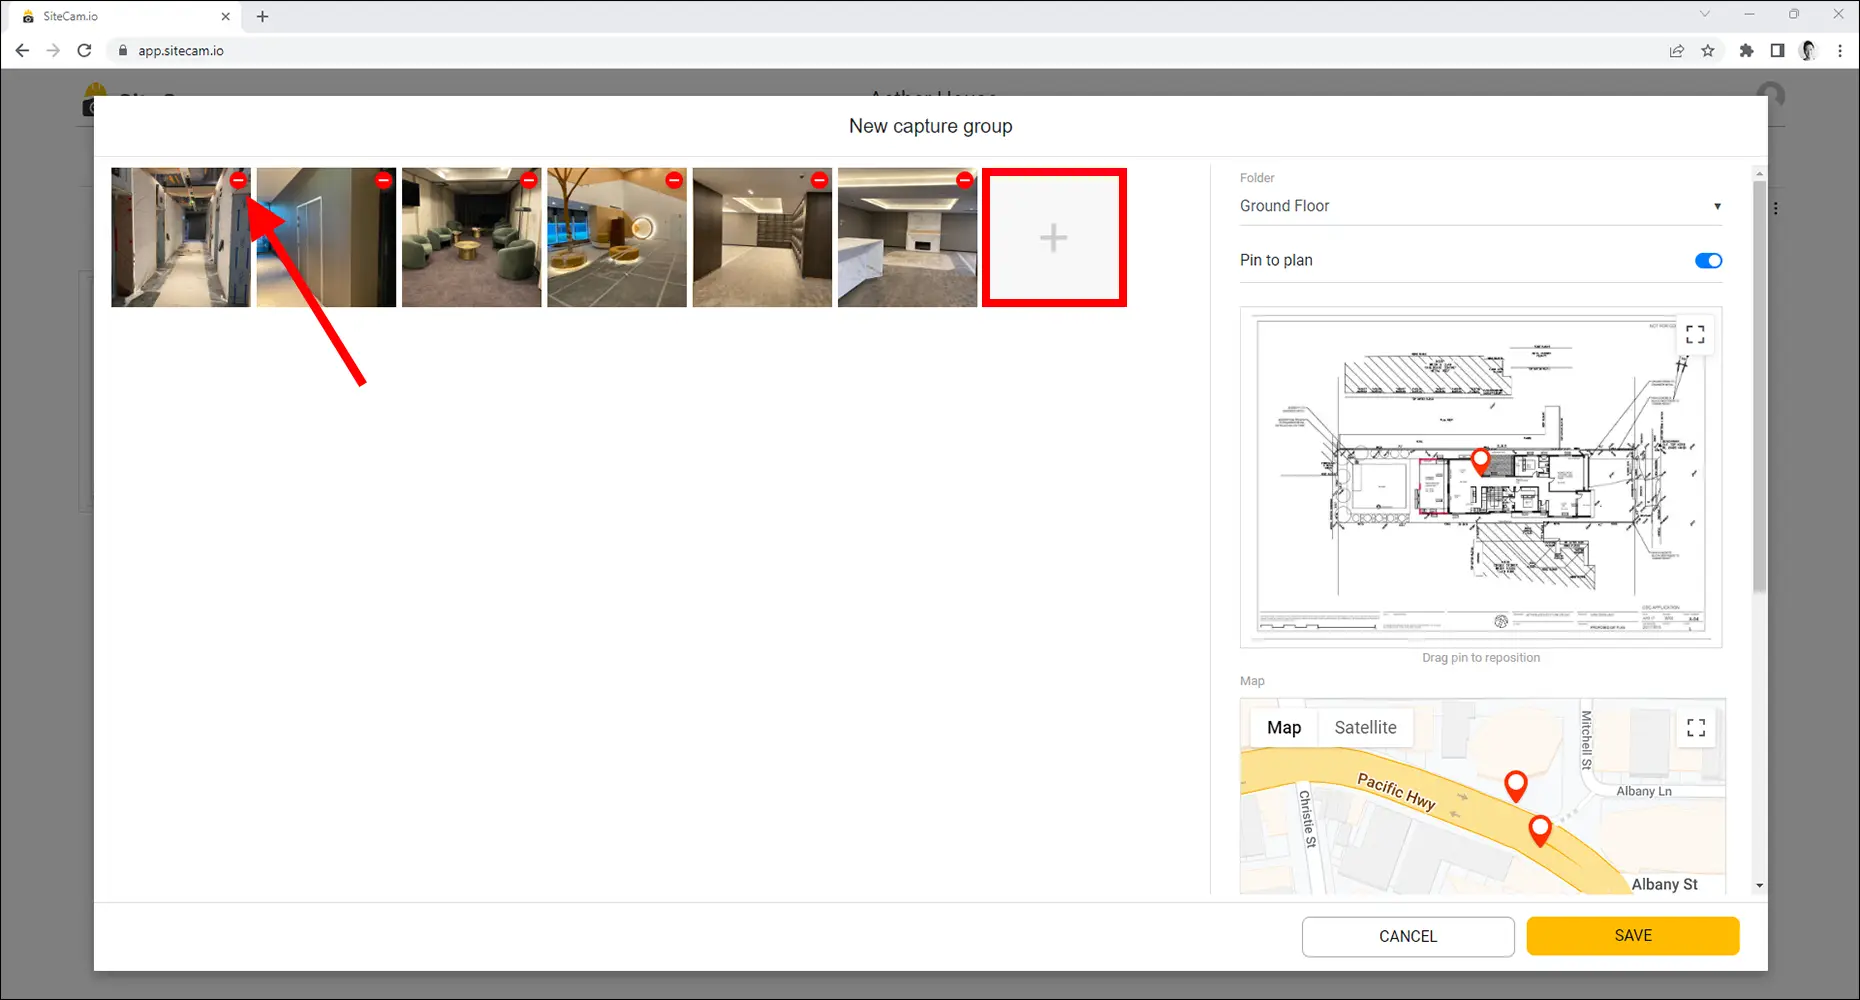
5. Your photos will appear in the Capture Group preview window. To remove any photos, press the Delete icon on the top right of each thumbnail. To add more photos to the preview window, press the [ + ] icon.
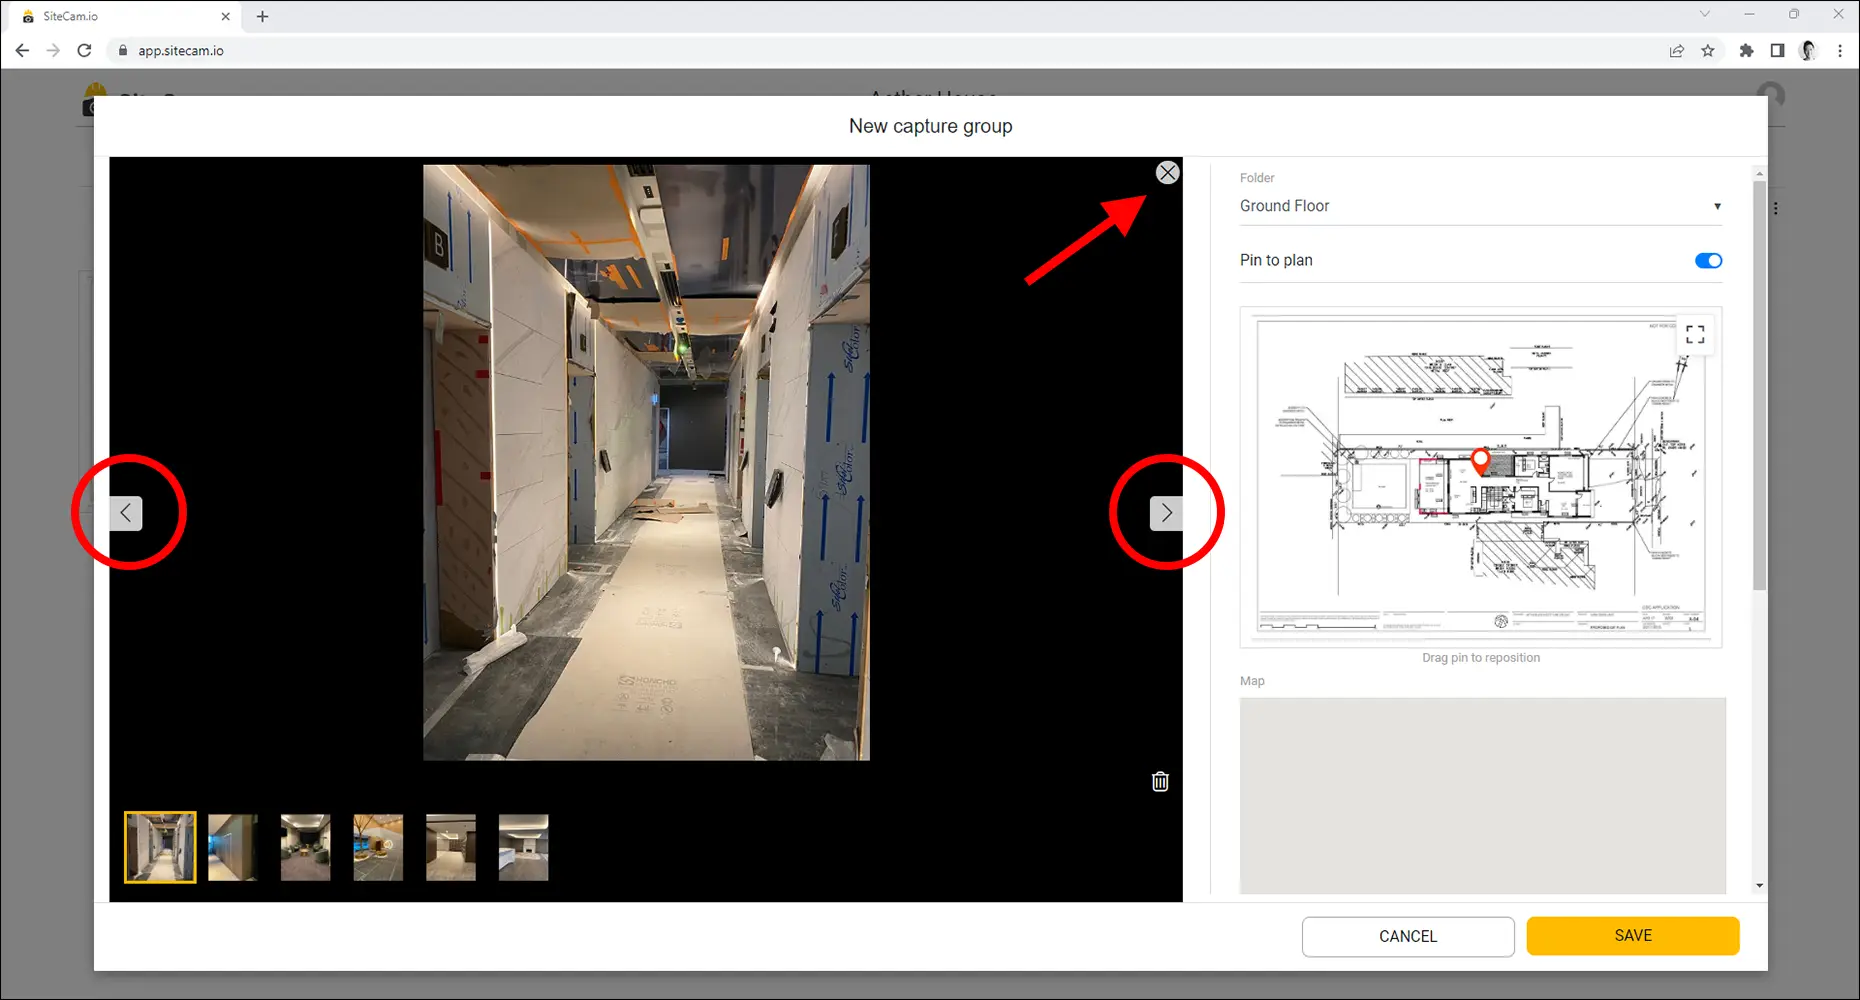
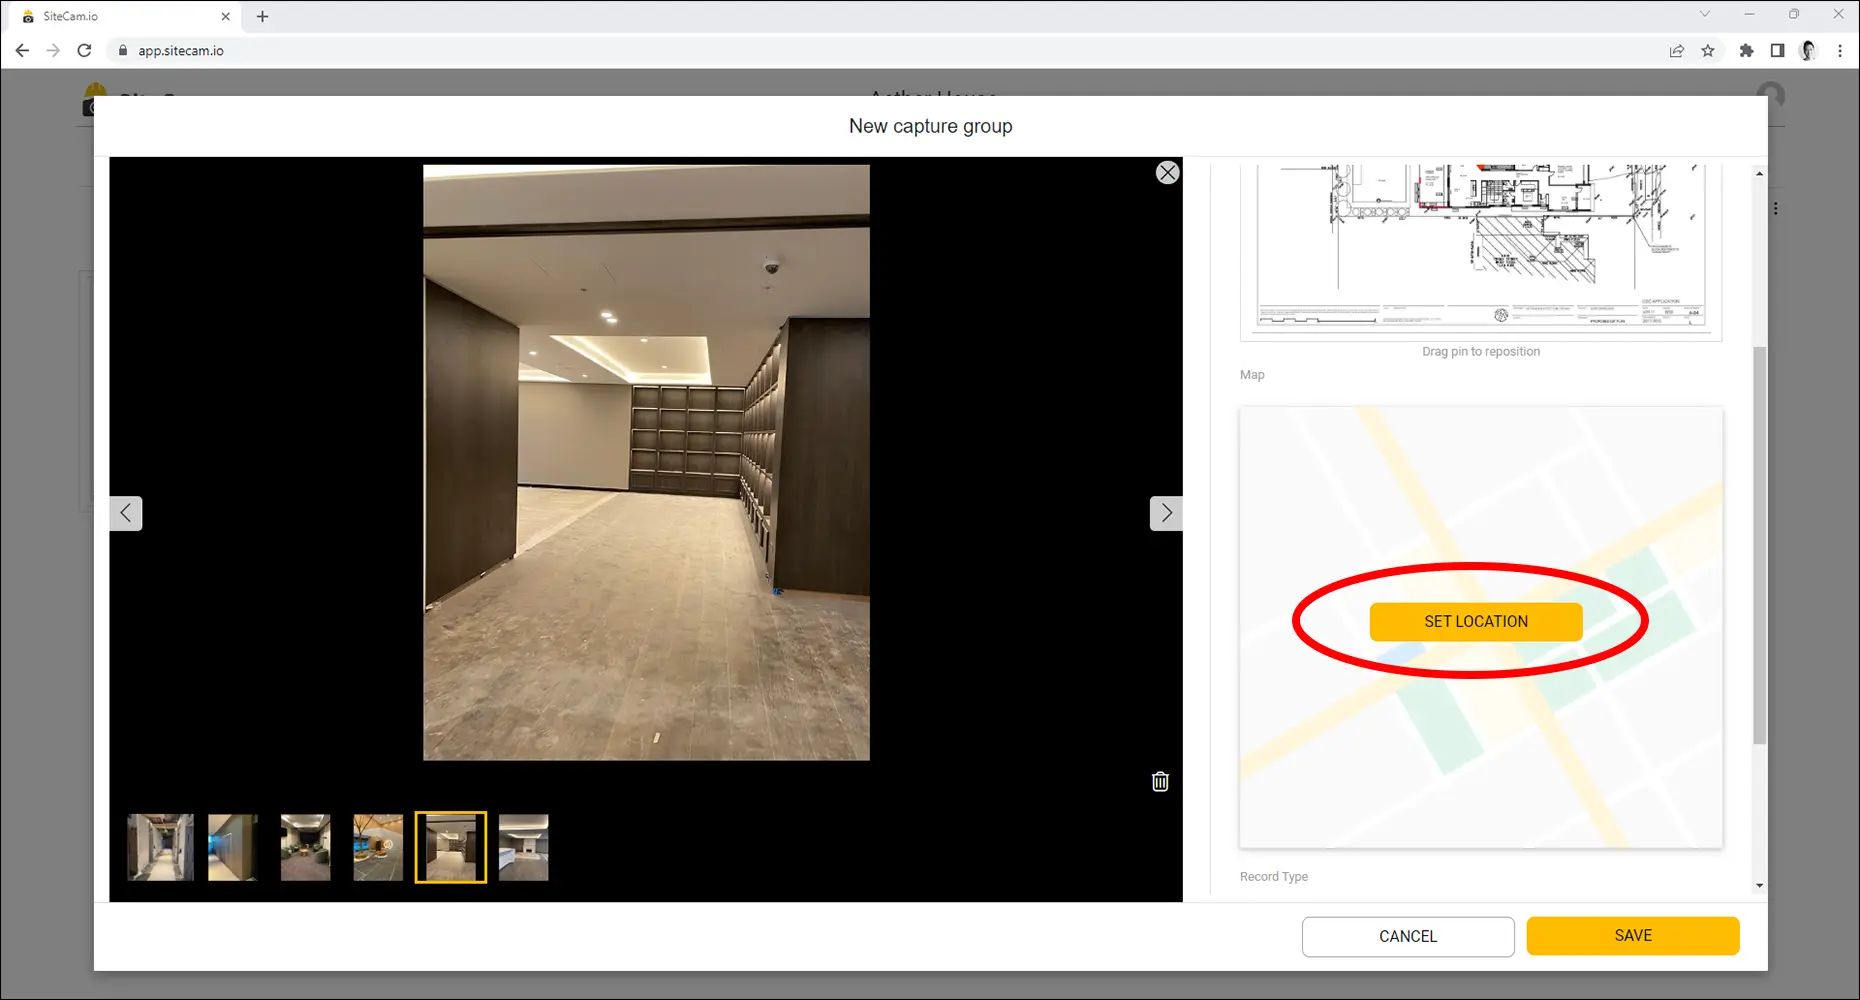
To view a larger preview of the photo, click on a thumbnail. You can press the left and right icons (or the left and right arrow keys) to scroll through the photos. To go back to the thumbnail view, press the ( X ) button on the top right.
Once you are happy with the photos, it’s time to organize and add some details to the Capture Group.
6. Select a folder to save the photos into. If a plan is attached to the selected folder, it will be displayed underneath. You can drag the pin on the plan to specify a location for the Capture Group. Alternatively, disable the “Pin to plan” toggle to place the Capture Group into that folder without a pin on the plan.
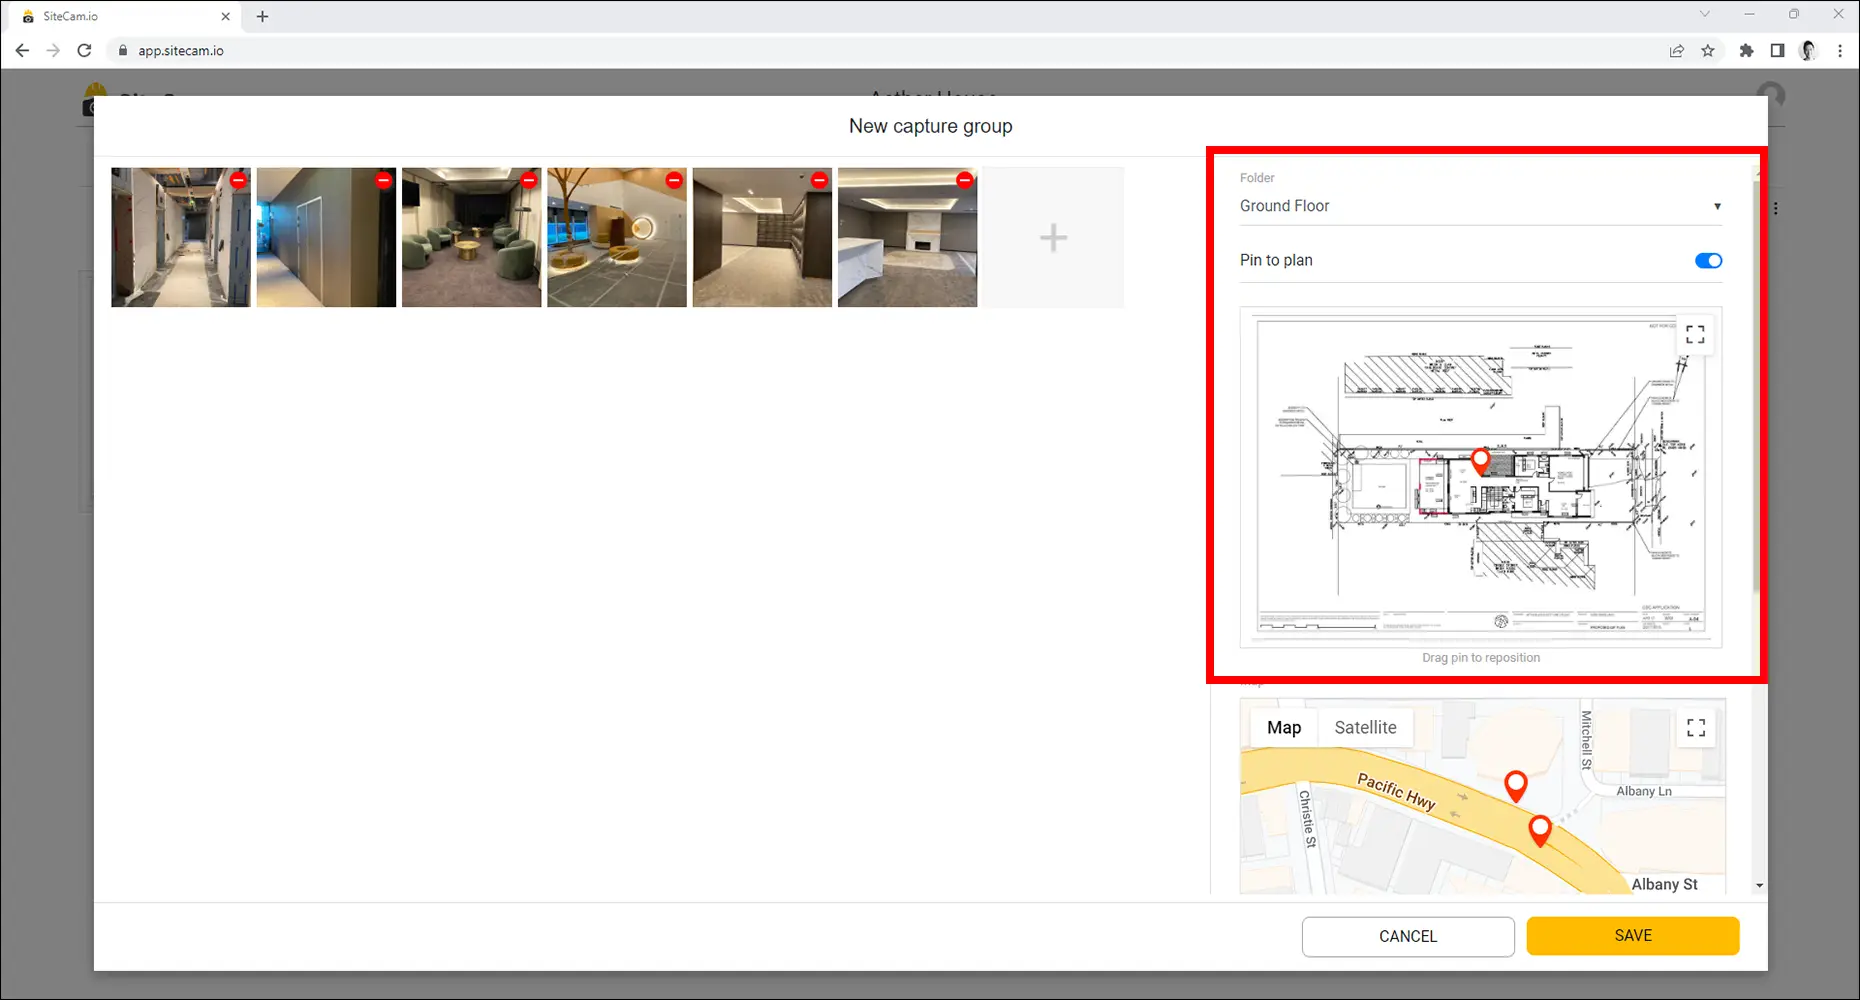
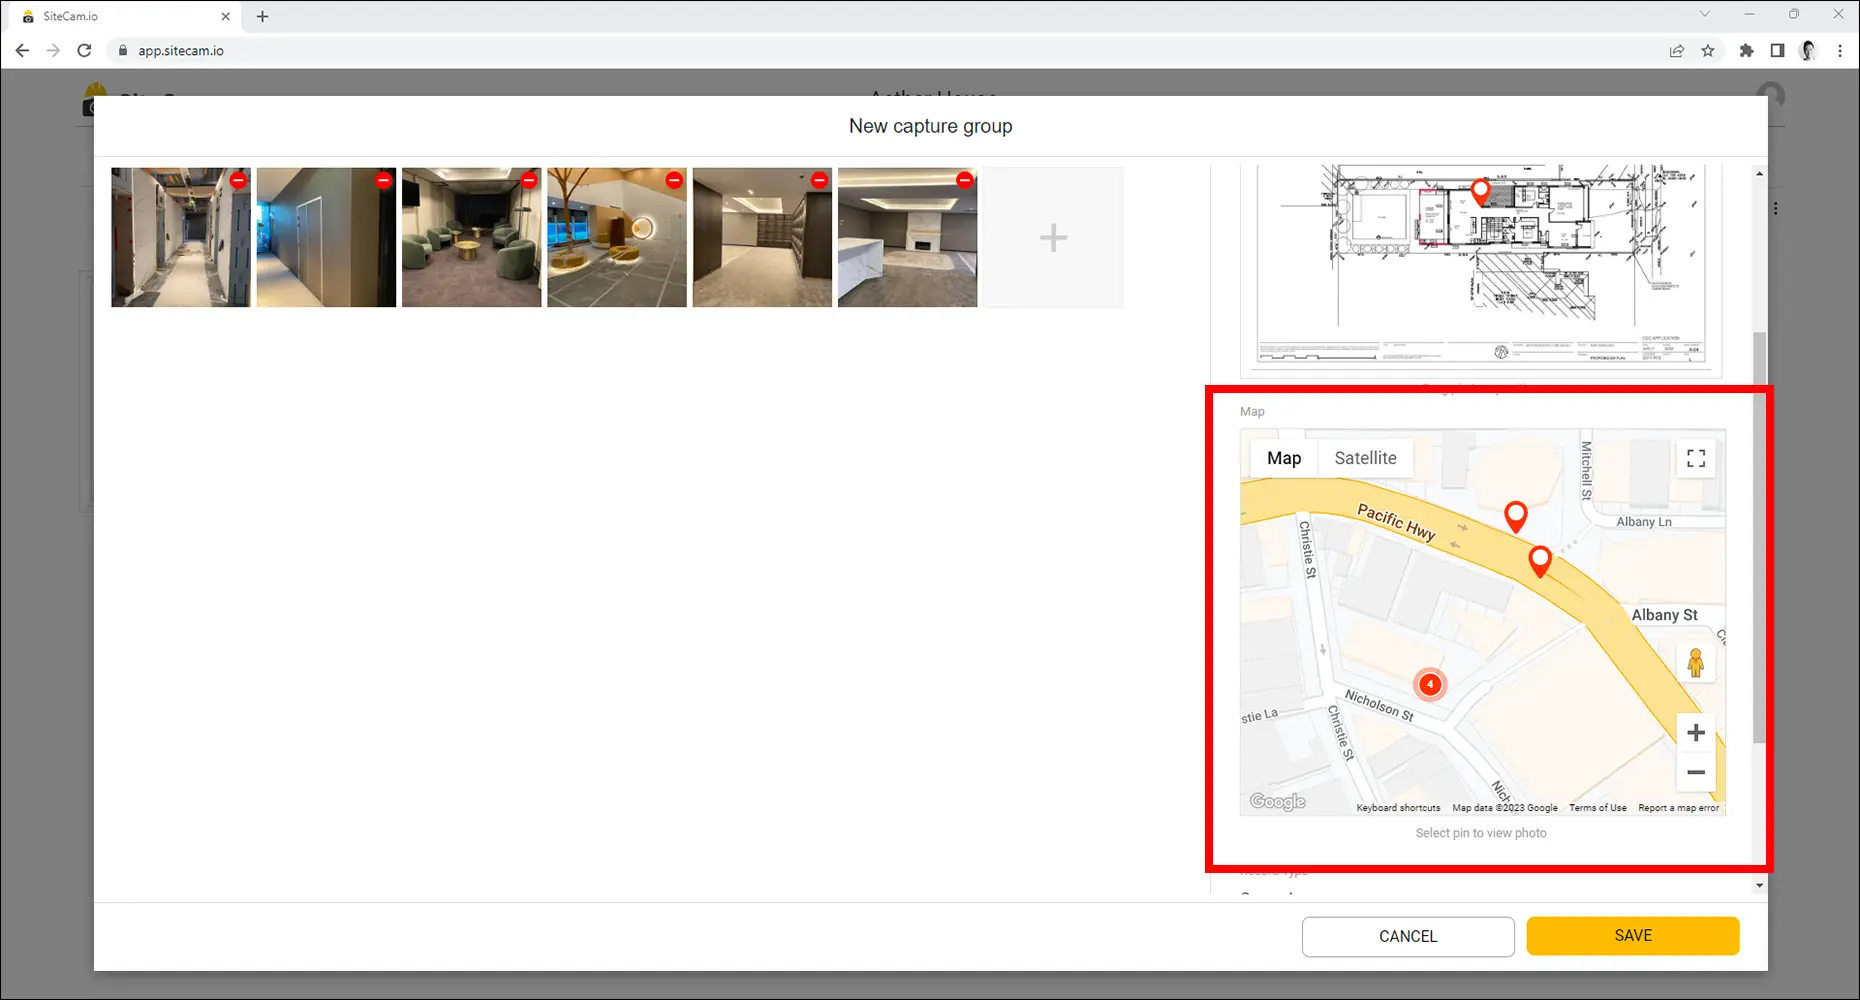
7. The Map shows the geo locations of all the photos in the Capture Group with GPS data. You can click on a pin on the map to view the corresponding photo.
8. Below the Map you can set a Record Type, add some Tags and type in a Description for the Capture Group.
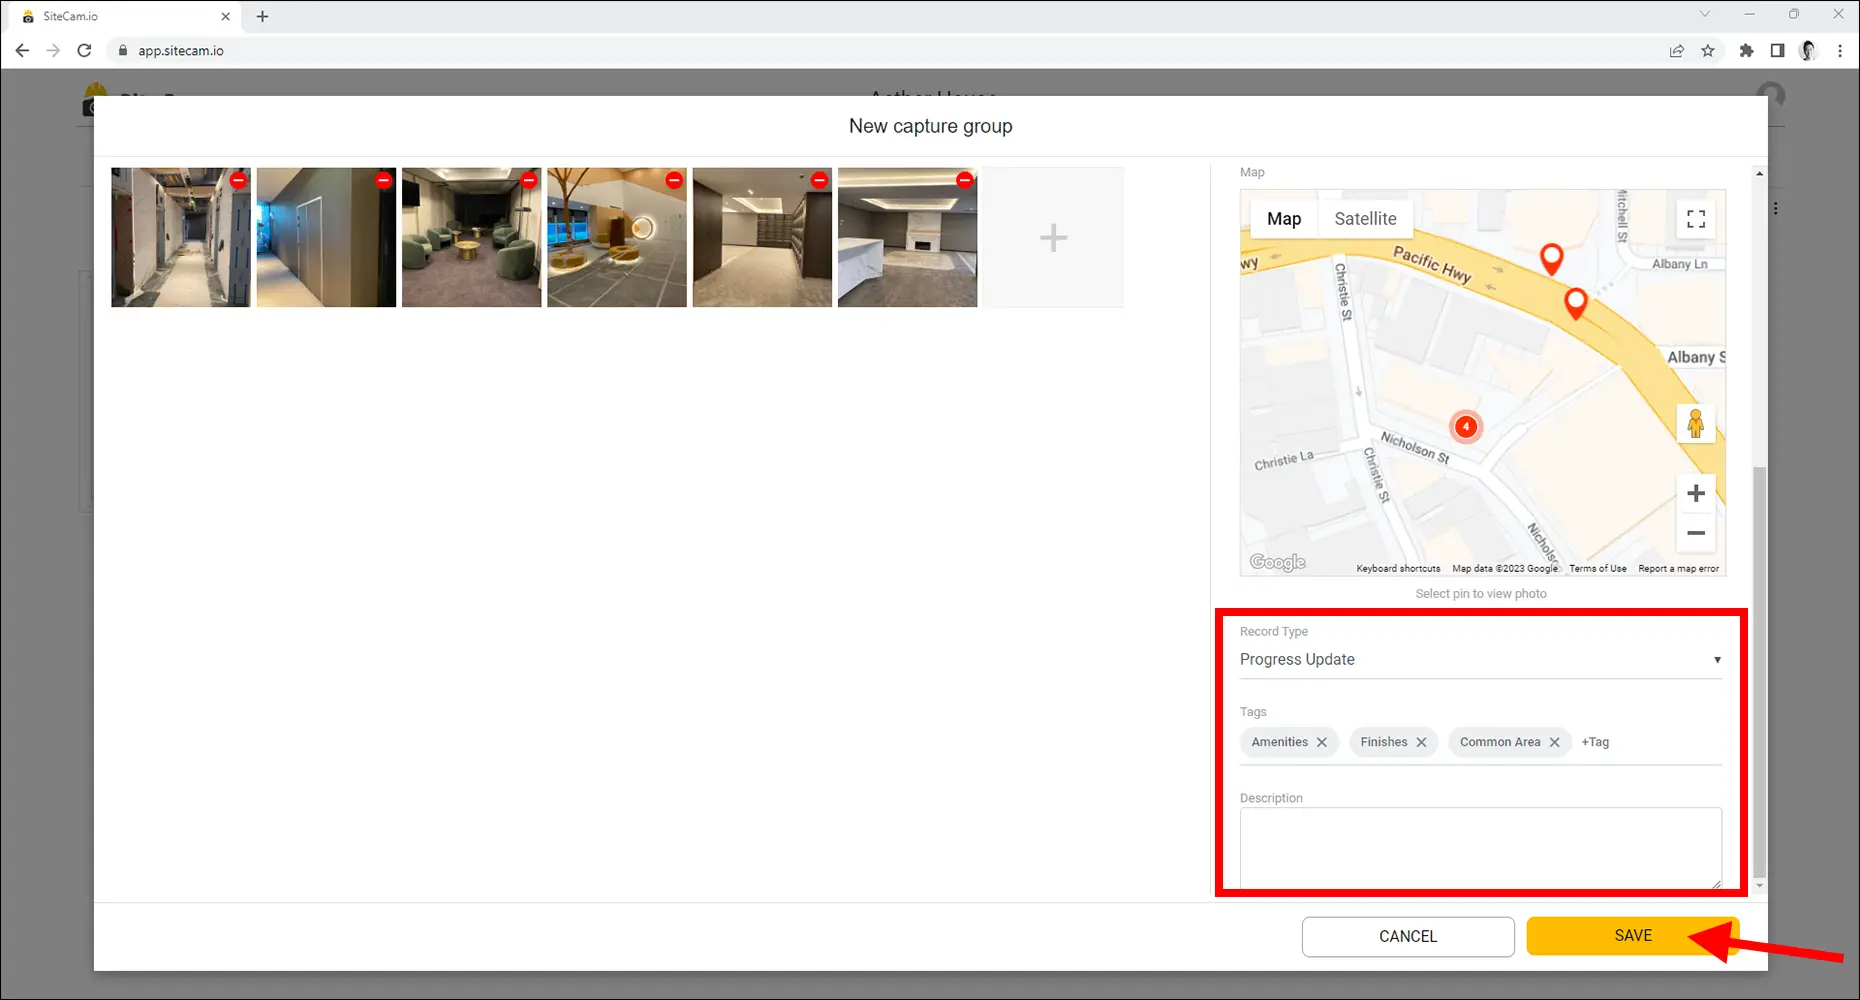
When you are done, press the SAVE button to complete the upload process!